
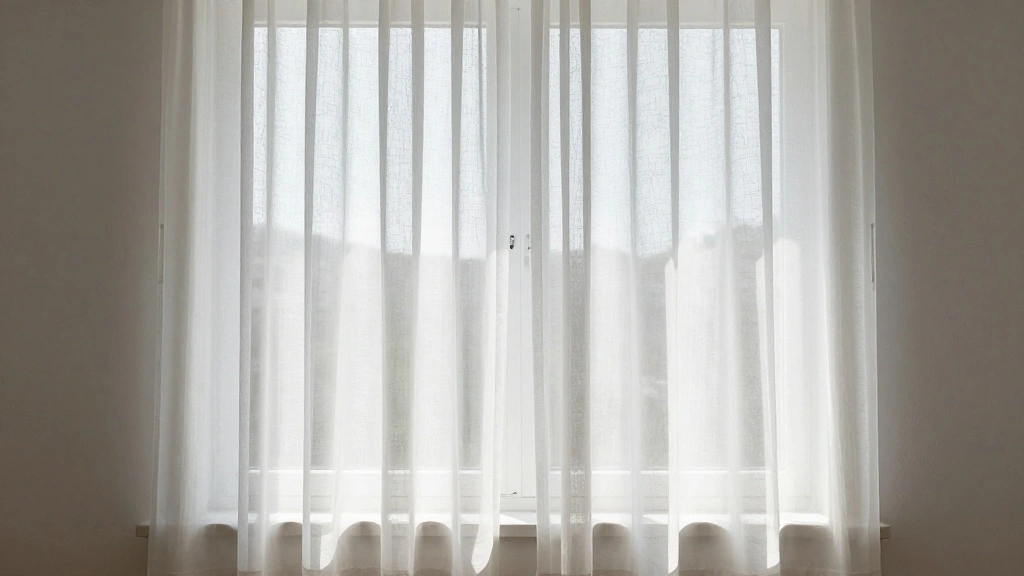


Are you tired of bland, uninspiring windows? Sheer curtains can instantly elevate your space, adding elegance and a touch of warmth. The good news is that you can create your own beautiful sheer curtains with minimal effort and no sewing required!
In this guide, you will learn how to transform simple fabric into stunning sheer curtains that can enhance your living space. You’ll discover the materials needed, step-by-step instructions, and helpful tips to ensure your curtains turn out beautifully.
This project is perfect for beginners, taking approximately 1-2 hours to complete, depending on the size of your windows.
Get ready to add a soft, airy touch to your home with this easy DIY project!
TL;DR Summary
- Gather materials like sheer fabric and adhesive tape.
- Measure and cut your fabric according to window size.
- Use adhesive tape to create a hem without sewing.
- Hang your new curtains and enjoy the transformation!
Recommended Products

Two Tone Sheer Organza Fabric by the yard( No stretch)

AMAZING MATERIAL: These lightweight scarf voile curtain is made in sheer material, touch to soft, and provides some privacy but allow light into the room. Sold as 1 panel.
TL;DR Summary
Editor’s Choice
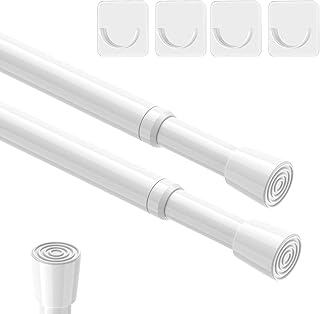
AIZESI 2pcs Spring Tension Rods Adjustable 26 to 39 inch Small Tension C…
 Amazon$12.59
YONGJIN Double-Sided Fabric Tape (2 Rolls) – No Sewing or Ironing Requir…
Amazon$7.99
SVBright Abstract Women Shower Curtain 60Wx72L Inch Modern Black White M…
Amazon$17.99Prerequisites/Materials Needed
- Sheer Fabric: 1-2 yards, depending on window size
- Adhesive Hem Tape: 1 roll
- Scissors: 1 pair
- Measuring Tape: 1 piece
- Iron: 1 (for securing hem)
- Curtain Rod: 1 (appropriate for your window)
- Clips (optional): for hanging
Recommended Products

【Quantity & Packaging Notice】 2 Rolls Included in 1 Pack: Contains 1 roll of 1/4" x 49ft and 1 roll of 1/2" x 49ft (Total 98FT). Note: Both rolls are securely packed together in a single package—please check the inner layer if you think any roll is missing. Specifically designed for clothing repair, folding, and crafting. Whether used for temporary or daily repairs, these sizes ensure efficient and convenient use.

KEEP YOUR CLOTHES IN PLACE: Take control of your clothes with our premium double sided tape for clothes. Designed to handle fashion emergencies like sagging necklines or slipping straps, this clothing tape for women double sided provides a secure hold for your clothing. Experience comfort and confidence in any outfit, knowing your clothes will stay perfectly in place, whether used as dress tape or a discreet boob tape alternative.

REMOVABLE DOUBLE-SIDED FABRIC TAPE: 1 roll of Scotch Removable Double-Sided Fabric Tape offers adhesive that holds fabric securely yet is easy to reposition
Prerequisites/Materials Needed
Editor’s Choice


40 Pack Curtain Rings with Clips, Drapery Clips with Rings, Drapes Rings…
Amazon$8.90
SVBright Abstract Women Shower Curtain 60Wx72L Inch Modern Black White M…
Amazon$17.99Skill Level & Time Estimate
Skill Level: beginner
Total Time Estimate: 1-2 hours
– 15 minutes for measuring and cutting fabric
– 30 minutes to apply adhesive tape
– 15 minutes for hanging curtains
– Additional time for adjustments if needed.
Recommended Products

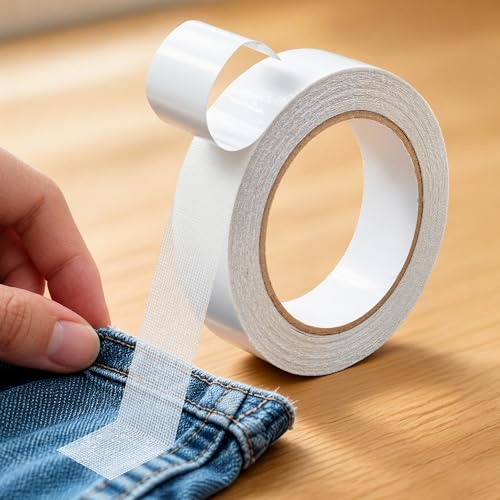
STRONG & RESIDUE-FREE ADHESIVE: This hem tape for pants features a PE fabric mesh core for durability, coated with an ultra-strong adhesive. The strong double sided tape heavy duty holds powerfully yet removes cleanly without damaging surfaces. Offers temporary hold with the freedom to adjust whenever you want

Effortless Garment Transformation: Transform your garments effortlessly with our hem tape for pants and dress! This 3/4 INCH x 32 Yards - 60GSM iron hem tape is suitable for quick, temporary fixes
Skill Level & Time Estimate
Editor’s Choice

Linda’s Essentials Double Sided Tape for Clothes, Body and Fashion (100 …
Amazon$7.99
SUQ I OME 1 Pair of Handmade Artificial Flower Curtain Holdbacks Clips W…
Amazon$15.99
GXOACKJ Curtain Rods for windows 32-48 inch, 5/8 inch Decorative Curtain…
Amazon$6.99Step 1: Measure Your Windows
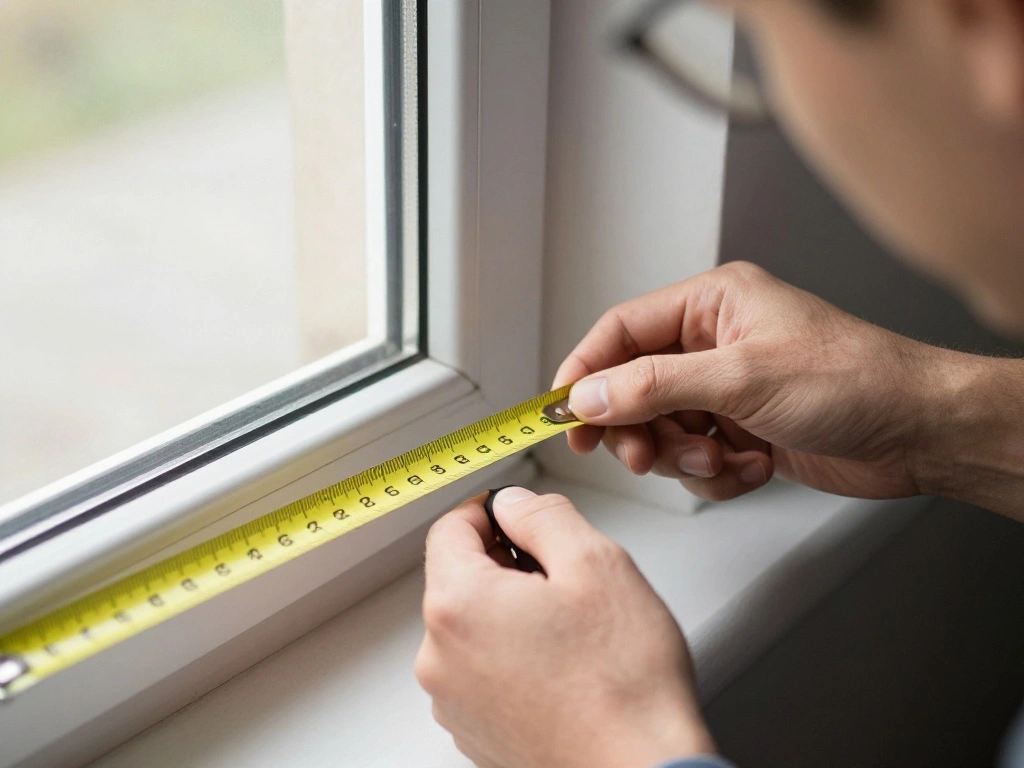
Start by measuring the width and height of your windows to determine how much fabric you need.
1. Use a measuring tape to measure the width across the top of the window frame.
2. Measure the height from the top of the frame to where you want the curtains to fall.
3. Add a few extra inches to both the width and height for hems.
Pro Tip: Make sure to measure twice to avoid mistakes.
Why this matters: Accurate measurements ensure that your curtains fit perfectly.
Estimated time: 15 minutes.
Recommended Products

【PACKING SPECIFICATIONS】: 2 pcs of white curtain rods, which can be extended from 26 to 39 inch, and the best use range is 28 to 36 inch,Scalable without drilling.

【Reinforced Support】 Our extendable curtain rod features a reinforced design with a 50% increase in wall thickness, providing unmatched support. It easily withstands 6 LBS of pressure without bending, ensuring a carefree user experience

【Superior Material】-Made from premium Inside and outside tube diameter: 13 / 16MM Carbon steel ,sturty and durable
Step 1: Measure Your Windows
Editor’s Choice

3000 PCS Gem Stickers – Self Adhesive Scrapbook Supplies | Rhinestones f…
Amazon$5.97
White Curtains for Girls Bedroom Teen or Woman,Sheer Linen Boho Romantic…
Amazon$33.99
Perfect Body Tape Measure – 80 Inch Automatic Telescopic Tape Measure – …
Amazon$8.99Step 2: Cut the Fabric
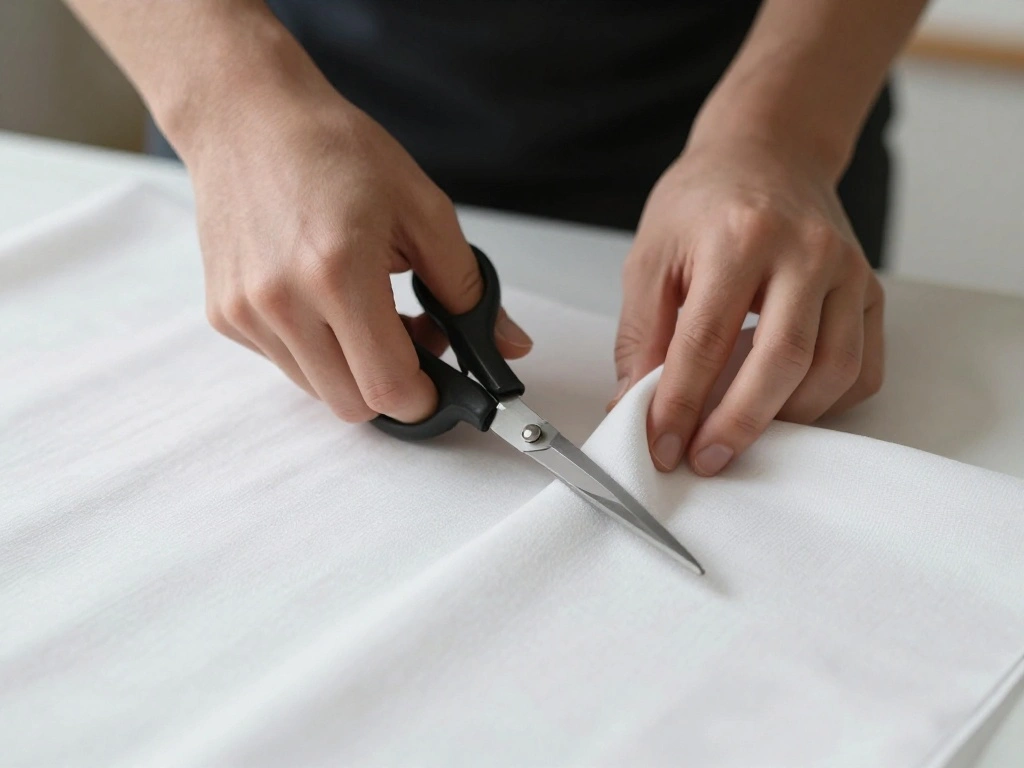
Now that you have your measurements, it’s time to cut the fabric.
1. Lay the sheer fabric on a flat surface.
2. Using the measurements, mark the desired width and height with fabric chalk.
3. Cut the fabric along the marked lines carefully.
Warning: Ensure your scissors are sharp to avoid fraying edges.
Why this matters: Clean cuts create a polished look for your curtains.
Estimated time: 15 minutes.
Recommended Products

Sold as 2 Panels: Each package includes 2 pieces white sheer curtains. Each sheer curtain measures 42 inch width, 84 inches long( The curtain length not include top 1.5 inch header,total length 85.5 inch) 2 pieces total width is 84 inches, Sheer curtains width is 1.5-2 times wider than your window to show a nice look. Multiple Length are available, please measure your window first for the right choose

Ready To Hang- Sold in pair, each package includes 2 pieces of french door curtains and bonus tone to tone adjustable tiebacks. Each sheer panel measures: 40 inches wide by 72 inches long

READY MADE: 2 panels sheer curtains per package. Each panel is 54" wide and 84" long when hanging as a flat. One of the grommets' inner diameter is 1.6". Purchase curtain whose width is 1.5-2 times wider than your window will form a nice look.
Step 2: Cut the Fabric
Editor’s Choice
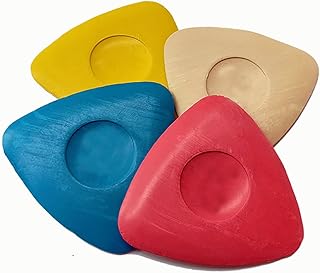
OZXTYO Tailors Chalk 4pcs,Sewing Fabric Chalk and Fabric Markers for Qui…
Amazon$3.95
Multicolor Professional Grooming Scissors for Personal Care Facial Hair …
Amazon$5.99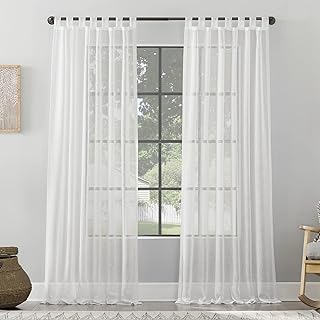
Archaeo Burlap Weave Linen Blend Tab Top Curtain, 50″ x 84″, White
Amazon$24.99Step 3: Create a Hem
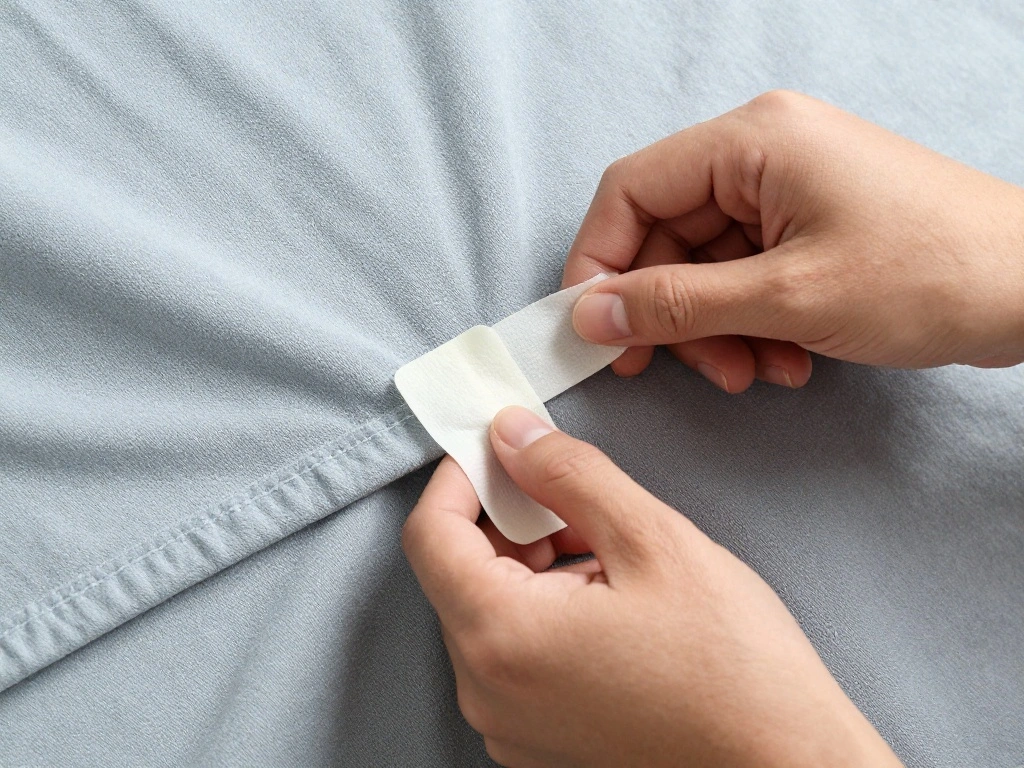
To avoid fraying, you’ll need to create a hem on your sheer fabric.
1. Fold the top and bottom edges of the fabric inward about 1 inch.
2. Use the adhesive hem tape to secure the folds.
3. Iron over the folded edges to set the adhesive.
Pro Tip: Test the adhesive tape on a fabric scrap first to ensure it bonds well.
Why this matters: A neat hem prevents fraying and gives a clean finish.
Estimated time: 30 minutes.
Recommended Products

🌻Chiffon Wedding Arch Drapes: Sheer arch drapes are good choice for your wedding decor. Romantic arch fabric will help to create beautiful folds or leave it flowing loose onto the floor, adding a very delicate, soft touch. Best wedding decoration gift.

Package- 4 Panels wedding arch draping fabric, each panel measures 30 inches wide and 19 feet long, offering ample coverage for large spaces or layered arrangements and create a magical and ethereal atmosphere for your most cherished moments.

Light Pink 100% Cotton Organdy Fabric 44"~soft Finish~10 Yds
Step 3: Create a Hem
Editor’s Choice

TEAWOO 2 Rolls Double Sided Fabric Tape, 98 FT Hem Tape No Sewing No Iro…
Amazon$4.99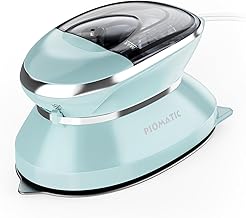
PIOMATIC Travel Iron Mini with Steam for Clothes with Dual Voltage, Port…
Amazon$18.97
Elegant White Lace Fabric Tulle Fabric by Yard Colorful Floral Embroider…
Amazon$8.98Step 4: Prepare for Hanging
Before hanging your curtains, prepare the curtain rod.
1. Install the curtain rod brackets according to the package instructions.
2. Slide the prepared fabric onto the rod.
3. If using clips, attach them to the fabric before hanging.
Warning: Ensure the brackets are securely fastened to support the weight of the curtains.
Why this matters: Proper installation of the rod is essential for functional and aesthetic appeal.
Estimated time: 15 minutes.
Recommended Products

WE AREN’T LIKE THE REST: While other double sided fabric tape options have weak adhesiveness, barely last an hour, and leave your skin irritated, Linda’s Essentials skin tape is made with high-quality adhesiveness. It provides a superior hold that lasts all day, so you can stay stress-free

【Quantity & Size】 You will get 2 rolls of double sided adhesive fabric tape — 2/5 inch x 49 Feet and 1 inch x 49 Feet, both packed together in one convenient package, which is enough to meet your various needs in clothing repair, folding and crafting. Whether it's for temporary repairs or long-lasting bonding, the sizes are precisely designed to ensure efficient use.
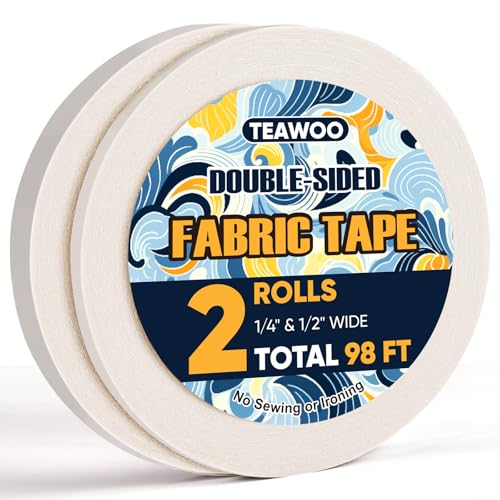
【GENEROUS QUANTITY & OPTIMAL SIZE】Available in 2-roll and 6-roll packs, with sizes of 1/4 inch x 49 Feet and 1/2 inch x 49 Feet. The sufficient quantity meets your various needs for clothing repair, daily use, and crafting. The sizes are thoughtfully designed to ensure efficient and convenient use.
Step 4: Prepare for Hanging
Editor’s Choice
SUQ I OME 1 Pair of Handmade Artificial Flower Curtain Holdbacks Clips W…
Amazon$15.99
Yalikop 2 Pcs Resin Drapery Sconce Corbel Bracket Curtain Rod Bracket Dr…
Amazon$27.99
Linda’s Essentials Double Sided Tape for Clothes, Body and Fashion (100 …
Amazon$7.99Step 5: Hang the Curtains
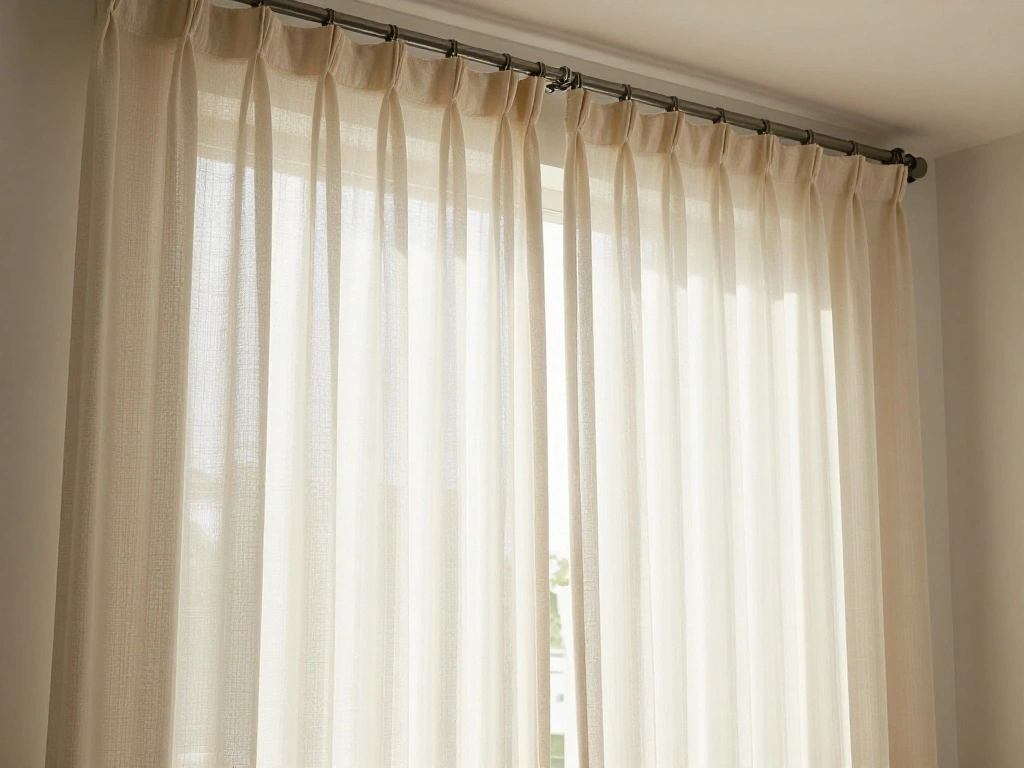
Now it’s time to hang your beautiful sheer curtains!
1. Carefully lift the curtain rod with the fabric and place it into the installed brackets.
2. Adjust the curtains to ensure they hang evenly.
3. Step back to check the overall look and make any small adjustments as necessary.
Pro Tip: Use a level to ensure the rod is straight.
Why this matters: Proper hanging enhances the visual appeal of your space.
Estimated time: 15 minutes.
Recommended Products

EASY PEEL AND STICK ADHESIVE: No sew VELCRO Brand fabric tape for clothes requires no sewing, ironing or gluing; used as hem tape for pants This sticky back cloth tape bonds...
Step 5: Hang the Curtains
Editor’s Choice

HNYYZL Curtain Clips,50PCS Plastic Curtain Rod Rings,Curtain Rings with …
Amazon$7.99
GXOACKJ Curtain Rods for windows 32-48 inch, 5/8 inch Decorative Curtain…
Amazon$6.99Step 6: Final Adjustments
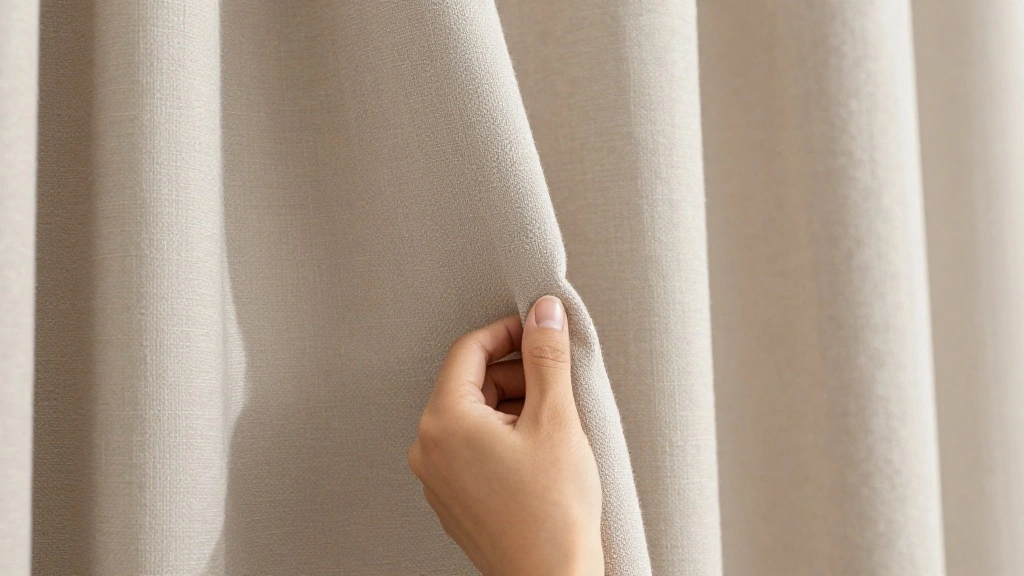
The last step involves making sure your curtains look just right.
1. Adjust the fabric to eliminate any wrinkles or unevenness.
2. If the curtains seem too long or short, carefully remove them from the rod and trim as necessary.
3. Rehang the curtains once adjustments are made.
Warning: Always measure twice before cutting to avoid mistakes!
Why this matters: Final adjustments ensure the curtains fit your space beautifully.
Estimated time: 15 minutes.
Recommended Products

【Size Introduction】- 2Pcs small tension rods 17-28 inch diameter:10/13mm.(Recommended best use range 17 to 26 inches)

【No-Rust and Non-Slip material 】Shower Curtain Rod is made of premium stainless steel, waterproof and rust-proof,the end of the black shower curtain rod comes with two Non-Slip rubber pads that fit tightly against the wall to prevent the rod from slipping.
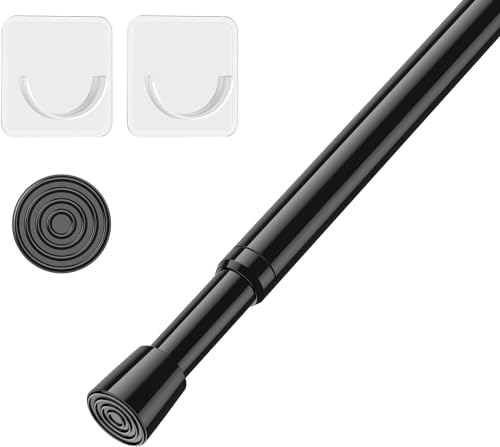
【PACKING SPECIFICATIONS】: 1 pcs of black curtain rods with 2PCS Curtain Rod Holde Scalable without drilling,curtain rod holde make installation easier and better to use.
Step 6: Final Adjustments
Editor’s Choice
Perfect Body Tape Measure – 80 Inch Automatic Telescopic Tape Measure – …
Amazon$8.99
LIVINGO Premium Tailor Scissors Heavy Duty Multi-Purpose Titanium Coatin…
Amazon$11.89Pro Tips
- Fabric Choice: Opt for lightweight fabrics like chiffon or voile for a soft look.
- Color Selection: Choose colors that complement your room’s decor for a cohesive feel.
- Layering: Consider layering sheer curtains with blackout curtains for versatility.
- Cleaning: Gently hand wash sheer curtains to maintain their look.
- Seasonal Change: Change fabric seasonally for a fresh look throughout the year.
Recommended Products
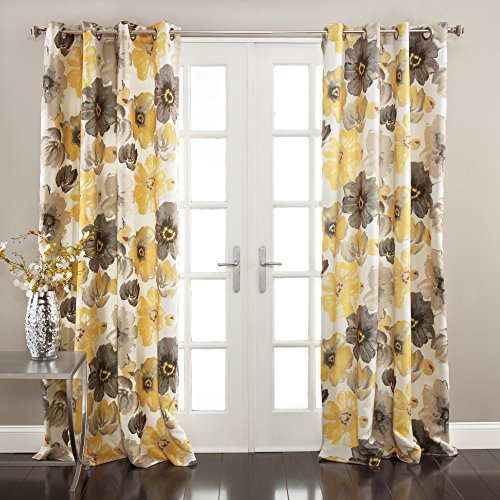
Bold Florals: The charming design of our Leah Light Filtering Curtains feature large, colorful blooming flowers that will brighten any room in your home with the feeling of spring. Add to your bedroom, dining room, home office or living room decor.

Basic Information: Each panel measures 42 inch wide by 96 inch long (1.5" header not include). Total of two (2) panels - 84" inch Wide x 96" inch long with top dual rod pockets design, makes the white sheer curtains appears more beautiful and vivid. It can be used alone or as an added layering piece for added privacy or a more lush look.

Basic Information: Includes 2 curtain panels, each measuring 50 inches wide for a total of 100 inches. Easy care for machine washable in cold water, do not bleach, tumble dry low, iron on low heat if needed.
Pro Tips
Editor’s Choice
GXOACKJ Curtain Rods for windows 32-48 inch, 5/8 inch Decorative Curtain…
Amazon$6.99
Soft Chiffon Scarfs Shawls and Wraps for Evening Dresses Wedding Shawl W…
Amazon$10.21
Mr. Pen- Fabric Scissors & Embroidery Scissors Set, 8.5″ and 3.5″, Stain…
Amazon$9.99Common Mistakes to Avoid
Warning: Failing to measure accurately can lead to curtains that don’t fit. Always double-check your measurements.
Warning: Using the wrong type of adhesive tape can cause curtains to fall. Ensure you use fabric-specific hem tape.
Warning: Forgetting to iron the fabric before hanging can lead to wrinkles. Always iron for a neat appearance.
Common Mistakes to Avoid
Editor’s Choice

Purple Butterfly Rose Ironing Board Cover Standard Full Size Iron Covers…
Amazon$15.99
Linda’s Essentials Double Sided Tape for Clothes, Body and Fashion (100 …
Amazon$7.99
Pink Tape Measure Gift for Mom, 25ft Best Mom Sewing Quilting Tape Measu…
Amazon$11.99Troubleshooting Section
Problem: Curtains are too long.
Solution: Remove from the rod, trim, and rehang.
Problem: Fabric is fraying.
Solution: Apply more adhesive tape to the hem.
Problem: Curtains don’t hang evenly.
Solution: Adjust fabric and check the rod level.
Troubleshooting Section
Editor’s Choice
Linda’s Essentials Double Sided Tape for Clothes, Body and Fashion (100 …
Amazon$7.99
MESHELLY Black Girl Shower Curtain 72Wx72H Pink Floral African American …
Amazon$18.99Variations/Alternative Methods
If you want to explore different styles, consider these alternatives:
1. Use a sheer panel instead of a full curtain for a more minimalist look.
2. Experiment with different hanging methods, like using tension rods for smaller windows.
3. Add embellishments such as lace or beading for a personalized touch.
Variations/Alternative Methods
Editor’s Choice

Curtain Rods 32 to 58 Inches (2.6-4.8ft), USFOOK 7/8 InchTelescoping Spl…
Amazon$17.99
H.VERSAILTEX Natural Linen Rod Pocket Curtains 84 Inch Length for Living…
Amazon$23.99FAQs
What if I don’t have a measuring tape? Use a ruler or any straight edge to measure.
How long should I let the adhesive set? Allow it to set for at least 30 minutes before handling.
Is it safe to hang sheer curtains near heaters? Yes, but ensure there’s enough distance to avoid fire hazards.
FAQs
Editor’s Choice
Pink Tape Measure Gift for Mom, 25ft Best Mom Sewing Quilting Tape Measu…
Amazon$11.99
African Tribal Woman Print Fabric Tapestry Decorative Wall Art Tableclot…
Amazon$15.99
Aleene’s Quick Dry Tacky Glue, Premium All-Purpose Adjesove, Quick Dryin…
Amazon$7.56Conclusion
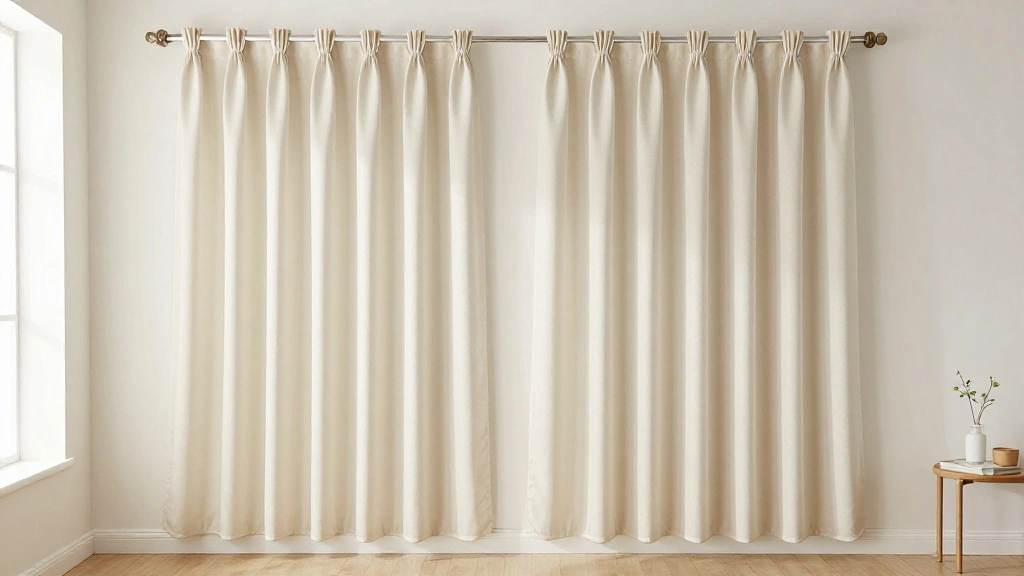
Congratulations on completing your DIY sheer curtains! You’ve transformed your space with your own hands. Now that you have these beautiful curtains, consider other DIY projects to enhance your home further, such as matching cushion covers or wall art. Remember, every small change can make a big difference. Enjoy your newly decorated space!

I've spent years obsessing over the details that make a house feel like a home — from the perfect bedding layers to a thoughtfully styled coffee corner. My focus is on modern, aesthetic home decor ideas that are beautiful, trend-aware, and actually achievable. Great style shouldn't require a big budget — just the right inspiration.
Follow on Facebook