
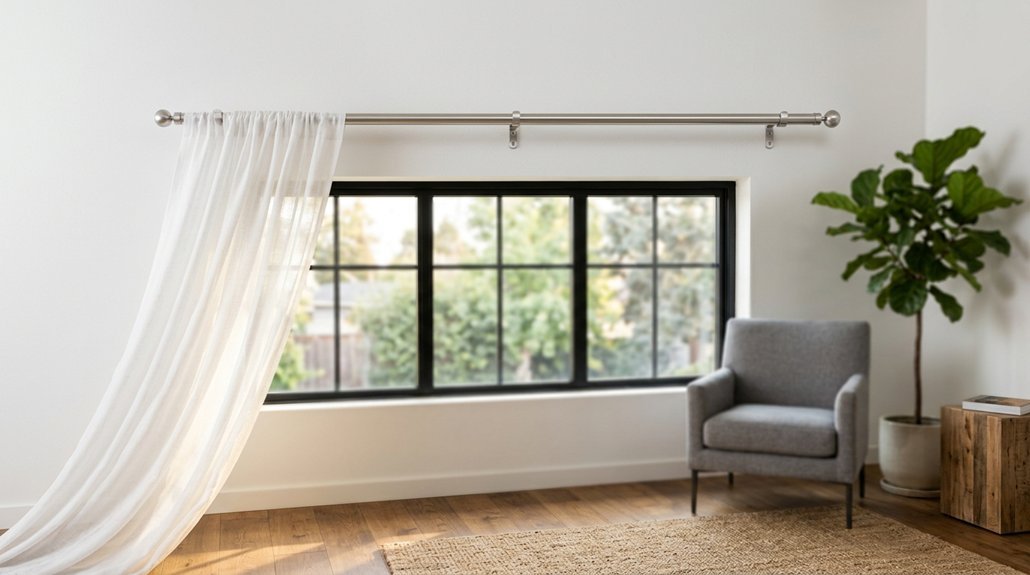


Goldilocks had it right: too high looks awkward, too low shrinks your room, but just right changes everything.
You need clear steps, not guesswork, and the difference between a polished look and a DIY disaster often comes down to half an inch.
Start by measuring your curtain’s finished length, then pick a mounting point above the window frame or near the ceiling.
You will mark bracket holes 3 to 6 inches up for standard ceilings, or 3 to 4 inches below crown molding.
For cathedral ceilings, aim 8 to 10 inches above the frame.
Extend your rod 6 to 12 inches past each side of the window.
Gather your tape measure, level, pencil, and drill before you mark a single hole.
Mount 4-6 Inches Above the Frame: The Standard Rule
Since you want your windows to look their best, you’ll want to hang your curtain rod about 4 to 6 inches above the top of your window frame. This curtain rod height helps your curtains look taller and more tailored.
To hang curtain rods properly, you’ll measure with a tape measure from the top of your window trim upward. Mark where the top screw hole on each bracket should sit at your chosen height.
Recommended Products

WIDE POCKET DESIGN WITH DURABLE METAL SUPPORT: 2.5 inch pocket fits wide pocket drapery securely, while adjustable 3.44"–5.94" projection allows flexible spacing and sturdy metal construction ensures reliable support.

VERSION 2.0 NO-DRILL WALL PROTECTION: TRAROD no-drill curtain rods feature upgraded adhesive brackets, minimize wall damage. The ultra-fine nails leave only tiny, barely visible 1.5mm holes (smaller than a pencil lead), which can be easily filled with standard spackle or wall putty. Perfect for apartment renters, dorm rooms, and leased homes.

Aluminum alloy height measurement for adults and children,Height Measure、Portable height measuring rod,Lightweight and convenient, can be moved at will, disassembled for transportation
Adapt Rod Height for Cathedral, Standard, or Low Ceilings
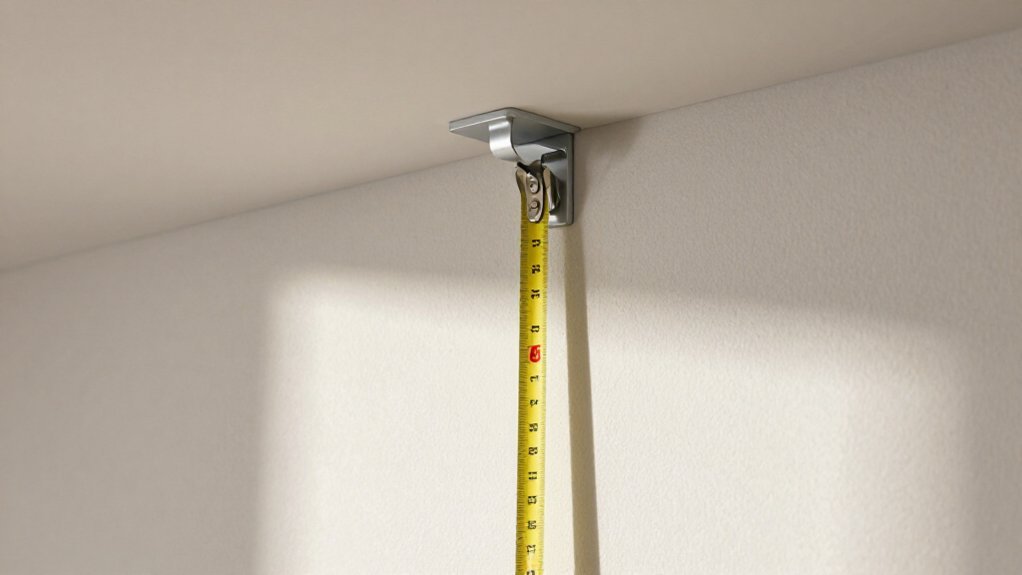
For standard ceilings, hang your curtain rod about 3, 4 inches below the ceiling or crown molding. Use the ceiling, not the window, as your reference line for rod placement. This keeps the room looking tall without crowding the top.
With cathedral ceilings, aim for roughly 8, 10 inches above the window frame to maintain that high-and-wide look, even on sloped surfaces. Your curtain length should still reach toward the floor.
Aim for 8 to 10 inches above cathedral windows to keep that high-and-wide look, letting curtains trail elegantly to the floor.
For low ceilings, mount the rod right at the ceiling, or use a ceiling-mount rod so the fabric doesn’t start too high and visually shorten the space.
If you have crown molding, place the rod immediately below it to keep that line clean. Hold one panel up before drilling to confirm your target floor interaction.
Recommended Products

Easy to Install and Detachable: Just need to put the assembled curtain rod into the base. It is easy to take the curtains off when you need wash or change different curtains, just put the rod from the base. No need to disassemble the pole.

KENNEY MANUFACTURING: Celebrating more than 100 years, Kenney Manufacturing is defined by its strength, integrity, and consumer-first mindset—crafting window hardware, bath accessories, and storage products built to last.

STURDY AND RELIABLE: Crafted from strong alloy metal, these swivel end sash curtain rods provide exceptional durability, ensuring they won't bend or break easily. The solid metal brackets guarantee a firm attachment to your doors, windows, or sidelights, offering outstanding stability and reliable support for your curtains. Plus, the rod swivels on one end for easy window cleaning or letting in extra sun.
Calculate Exact Mount Height From Your Curtain Length
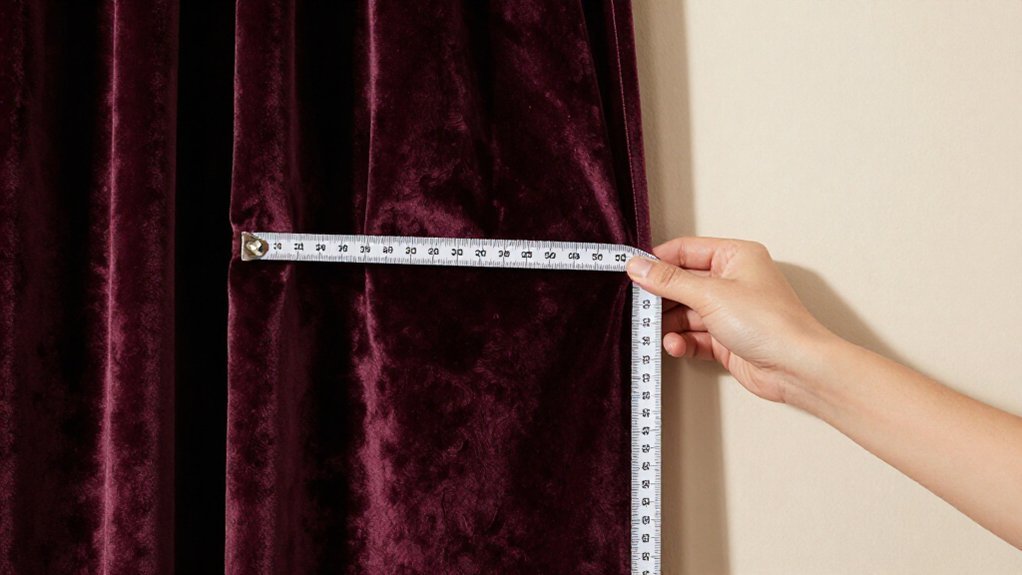
Before you pick up your drill, you’ll want to settle on your curtain’s finished length, since that choice locks in exactly where the rod must sit. Pick your finished length first, whether that’s one inch above the floor, a break on the floor, or a slight puddle, because that determines how low the rod must sit for the fabric to land right.
For 84-inch curtains near an 8-ft ceiling, hang the rod about 84–86 inches from the ground so the fabric gently touches the floor. Hanging too close to the ceiling with 84-inch curtains leaves a noticeable gap, making the fabric look floaty instead of tailored.
Measure the length relative to your heading type, since grommet, tab top, and ring-hung styles each change the rod-to-fabric distance. Do a final dry-run by holding one panel up at your calculated height, then adjust the bracket until the fabric lands exactly where your finished length requires.
Recommended Products
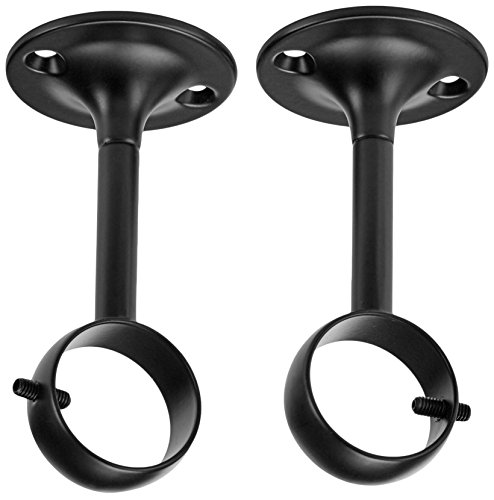
4-Pack (8 brackets total included)
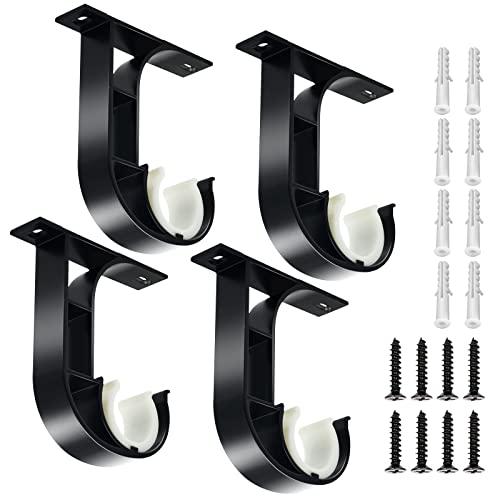
[Unique Buckle Design] -- Ceiling curtain rod bracket features a removable plastic clip to secure and protect rods from scratches. Fits 1 INCH diameter drapery rods; please measure before purchase.

!!!PLEASE CHECK SIZE BEFORE PURCHASE!!! --- Ceiling curtain rod bracket: 3.54in (90mm) long, 1.8in (46mm) base diameter, 1.96in (50mm) projection from wall. Fit for 1-1/10 to 1-1/4in (28mm-32mm) diameter drapery rod.
Choose Wall or Ceiling Mounts Before You Mark
You need to decide between wall mounts and ceiling mounts before you grab your pencil.
Wall mounts typically sit 6–10 inches above your window frame, giving you a classic look that works with most curtain styles. Ceiling mounts hang closer to the ceiling line, which can make your windows appear taller, but you’ll need extra brackets to keep everything secure.
Recommended Products
Set of 2 curtain-rod brackets mount securely to a ceiling or wall

Anndason Curtain Rod Brackets,add a dash of Style and Elegance to your home.Curtain Rod Brackets perfect for your office, living room, bedroom,dining room, and kitchen,or other place in your home.

Heavy Duty Curtain Rod Ceiling-Mount Brackets is made of High quality iron,strong hardness,sprayed with elegant paint on the exposed parts to provent rust.
Wall Mount Benefits
With your mounting style settled, you’re ready to mark the wall. A wall mount keeps your installation simple, since you’ll use fewer curtain rod brackets and drill less overall.
Follow the high-and-wide rule: place the rod about 3–4 inches below your ceiling or crown molding, not right at window height. This trick makes the window look taller. You’ll also extend the rod 6–12 inches beyond the window frame on each side, so your curtains frame the glass instead of blocking it.
Measure with a tape measure to mark these spots accurately. Hold a curtain panel at the intended height to check your floor interaction, whether you want a hover, kiss, or puddle. Once you’re satisfied, mark your bracket spots about 4–6 inches from each rod end, adding middle supports if the span is wide.
Ceiling Mount Advantages
A ceiling mount works best when you’re after that floor-to-ceiling curtain look, or when your ceiling height makes wall mounting tricky. You’ll get maximum visual height and a cleaner appearance than wall mounting provides.
If you’ve got a cathedral ceiling, a ceiling mount follows the ceiling line easily, so you don’t fight angled walls. Plan on extra brackets for this setup, ceiling mounting needs more support than wall options. Check your hardware guide for the exact bracket count you’ll need.
Measure from the ceiling surface, not the window, and keep bracket top screw holes level. This ensures your curtain rod or track sits straight, even if the ceiling isn’t perfect. Drill each pilot hole carefully before securing hardware.
Position the rod so curtains reach your chosen floor finish, hover, kiss, or puddle, rather than looking like they’re floating.
Mark and Level Your Bracket Positions
You’ll mark your bracket spots with a tape measure and pencil, keeping both sides at the same height from your reference point, often the top screw hole. Hold a level across both marks to check they’re even, since ceilings aren’t always straight, and use a cardboard template to transfer exact measurements before you drill any holes.
Drill pilot holes first with a ~3/32″ bit, then switch to a ~3/16″ bit for anchors if you miss the studs, and secure each bracket firmly before you hang the rod.
Recommended Products

【ADJUSTABLE LENGTH】Composed of 5/8 diameter curtain rods, the small curtain rod is ranging from 30 to 90 inches in length, suitable for windows ranging from 30 to 84 inches. Comes with 6 rods that need to be screwed together, not 2 poles window rods

Adjustable length: 32-84" curtain rod fits windows 24 to 76 inches wide. Its telescoping rod extends up to 9", and the adjustable thickened brackets allow the gap between the rod and wall to be adjusted from 2.5 to 3.5", preventing friction and enhancing light-blocking performance.(Important Note: To ensure safe shipping, this rod consists of 5 segments that require assembly. It is not a single or 2-piece pole.)

【 HEAVY DUTY CURTAIN ROD】Real heavy duty curtain rods, can hold up to 30 pounds. To work better with heavy curtains, in choosing materials for making curtain rods, we made the following three choices:1. We chose steel rod with 0.5% carbon content. This rod will be more sturdy and stable; 2. We chose the rod with 0.8mm thickness. Compared to other rods, ours are thicker and more durable; 3. We chose 1" diameter rod. After testing, 1" diameter curtain rod is the most reliable for windows in the range of 48-84 inch
Bracket Placement Essentials
Before you pick up your drill, take a moment to figure out exactly how many brackets your rod kit needs. Check the manufacturer’s guide, since wider spans and ceiling mounts generally need more brackets than wall mounts.
Place the first and last bracket about 4–6 inches from each end of your curtain rod, then space any middle brackets evenly across the width. Use a tape measure to mark positions precisely, and grab a level to keep all bracket marks in the same horizontal plane since ceiling lines can be slightly off.
Measure twice to make sure everything lines up before you drill pilot holes at your pencil marks. Do a quick dry run by holding one curtain panel on the rod to confirm the bracket height looks right, then proceed with mounting.
Level Alignment Techniques
Once you’ve held up that curtain panel and locked in your rod height, grab your pencil and mark the top screw hole spot on both sides of the window. Use a level, or a laser level if you have one, to draw a straight horizontal line connecting those two marks. This keeps your rod closer to perfectly even rather than tilted.
Mark each additional bracket location along that level line, spacing them evenly across the span. Re-check alignment before you drill any holes. Drill pilot holes first so brackets sit flush and straight. If you didn’t hit studs, use drywall anchors for the larger holes. Verify level alignment again before final tightening.
Do a quick dry run: hold the rod across the bracket marks to visually confirm the line is level, since ceilings often sit slightly unlevel even when measured by ceiling. This prevents rod sag, especially with heavier fabrics like a tailored pleat on either side.
Handle Crown Molding and Tight Ceiling Spaces
Because crown molding and low ceilings can limit your options, you need to adjust your mounting strategy to keep the drapes looking intentional rather than cramped.
If you have crown molding, hang the curtain rod right below the crown molding, typically about 3 to 4 inches below the bottom edge, so the drapes visually clear the molding without capping the window. For standard windows, this placement keeps the top edge looking clean.
In tight ceiling spaces, mount the rod as close to the ceiling as needed, even at the ceiling line or with a ceiling mounted rod, to keep the top of the fabric from looking cut off. When crown molding reduces usable wall area, extend the rod only as far as practical on each side, about 6 to 12 inches beyond your window trim if space allows, while keeping the rod level with the ceiling line.
Fix Rods Hung Too High, Too Low, or Uneven
Even if you measured twice, it’s easy to end up with a rod that’s off by a few inches, and those small errors can throw off your whole room.
If you mount the rod too high, your curtain will float above the floor. Lower it so the fabric just touches the floor or pools slightly, usually 84 to 86 inches from the ground for 84-inch curtains. Hang one panel first to test how it falls before attaching the rest.
If you mount the rod too low, your window will look short. Move the bracket 3 to 4 inches below the ceiling to preserve the high-and-wide effect.
Mark bracket positions with a level for even installation, since floors and ceilings aren’t always straight. If you must re-drill, replace old anchors with new ones so they don’t sag.
Recommended Products

Room Darkening Solution: The double curtain rod features a wrap around design, which creates a tight seal between the wall and curtains, effectively blocking light and reducing outside noise to help you create a comfortable and cozy indoor environment.


Easy to Install and Detachable: Just need to put the assembled curtain rod into the base. It is easy to take the curtains off when you need wash or change different curtains, just put the rod from the base. No need to disassemble the pole.
Troubleshoot Common Ceiling and Frame Obstacles
At some point, you’ll run into a ceiling or frame that doesn’t play by the usual rules, and that’s when standard measuring advice falls short.
For a cathedral or vaulted ceiling, mount your rod 8–10 inches above the window frame on each side of the window. This keeps your high and wide look consistent, even when the slope fights you.
With a crown molding ceiling, hang the rod right below the trim so you don’t chop the room’s height visually.
You feel stuck when the beam blocks your perfect height, but 4–10 inches above the frame still works. You worry about short ceilings, so you mount at ceiling height to avoid shrinking your window. You panic over no studs, yet toggle bolts hold firm in drywall higher up.
You stress over uneven ceilings, but a level saves the day. You fear crown molding, yet staying below it keeps lines clean.
Recommended Products
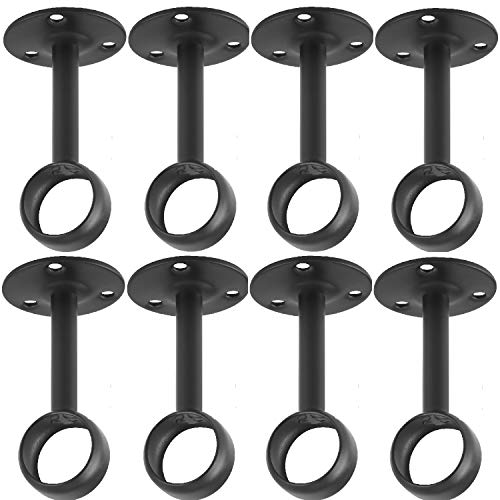
Anndason Heavy Duty Curtain Rod Brackets,add a dash of Style and Elegance to your – home, office or anywhere else you decide to use then.

Practical & Decorative: Simple and classic curtain rod hanging bracket not only supports your curtains and curtain rods well, but also goes well with other window treatments; It not only matches well with most types of home décor, but also adds contemporary feeling to your home.

I've spent years obsessing over the details that make a house feel like a home — from the perfect bedding layers to a thoughtfully styled coffee corner. My focus is on modern, aesthetic home decor ideas that are beautiful, trend-aware, and actually achievable. Great style shouldn't require a big budget — just the right inspiration.
Follow on Facebook