
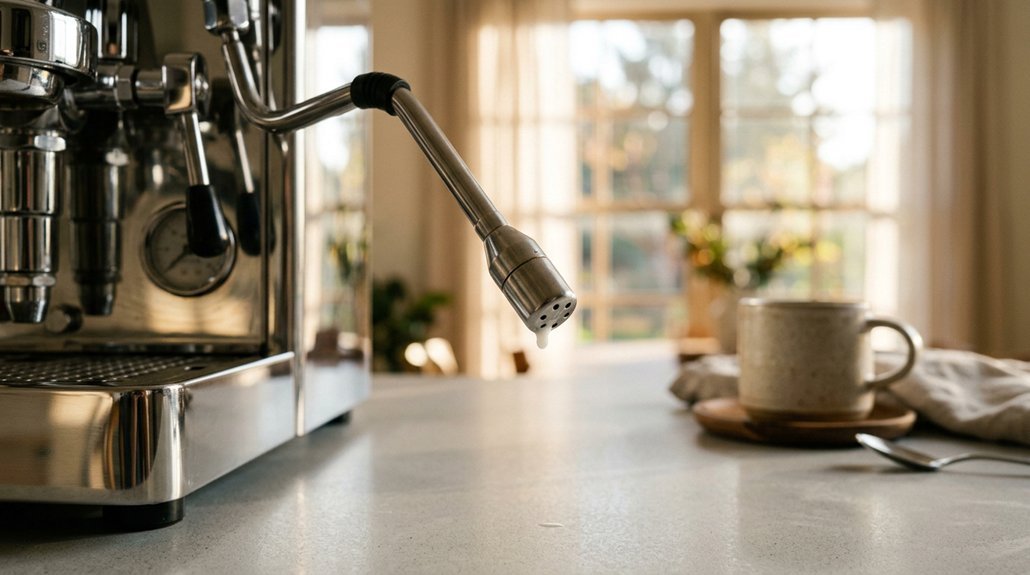


You probably don’t know that the angle of your pitcher determines how much air gets into your milk, not just the wand position. Start with a 12-ounce stainless pitcher filled with 5–6 ounces of cold milk, then heat your machine fully before you begin.
You’ll need to listen carefully to the sounds, since different hisses tell you when you’re adding air versus creating silky foam. The real trick is knowing when to stop, because milk scalds fast past 150°F, and once that happens you can’t save it.
There’s also one step most people skip that ruins their latte art before they even pour.
Set Up Your Pitcher and Chill Your Milk
Start with a cold, 12 oz stainless-steel pitcher straight from your freezer, and pour in 5–6 oz of cold milk, just below where the spout begins to narrow. This leaves room for the milk to expand during Milk Frothing. The stainless steel helps you feel the milk temperature as it heats.
Before you begin, make sure your machine has reached full steaming temperature. Then purge the steam wand to clear any hot water that’s collected inside. This step keeps your steam dry and strong.
Wait for full steaming temperature, then purge your wand—dry, strong steam depends on it.
Hold the frothing pitcher at a slight tilt, about 15 to 30 degrees, so you’re ready to position the wand correctly. Starting cold and purging first gives you steadier steam. You’ll find it easier to hit the sweet spot, around 135 to 150 degrees Fahrenheit, without overheating.
When you’re done, swirl the pitcher to keep the texture smooth.
Recommended Products

CREAMY VELVETY FROTH IN SECONDS: Making coffee-shop-style recipes at home is as simple as it can be with this milk frother. The 13,000 RPM motor and 25 spiral rings on the frother let you whip up rich foam in no time. Level up your day with this frother for protein powder, warm or cold coffee, latte, cappuccino, hot chocolate, matcha, and powdered drinks.

4-in-1 Multifunctional: Customize your favorite café-style drinks at home with this versatile milk frother. Choose from warm dense foam, warm airy foam, or cold foam; It also warms milk to approximately 150℉
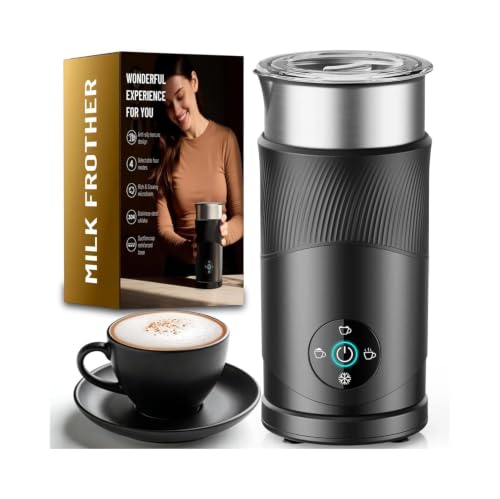
Professional Barista Performance: Experience café-quality results with our advanced Milk Frother featuring 450W high power and 6000rpm motor speed that creates silky smooth foam in just 120 seconds. The rapid frothing technology delivers rich, velvety texture for cappuccinos, lattes, macchiatos, and iced coffee beverages. Perfect for busy mornings when you need professional-grade milk foam without the wait
Place the Steam Wand for Controlled Air Incorporation
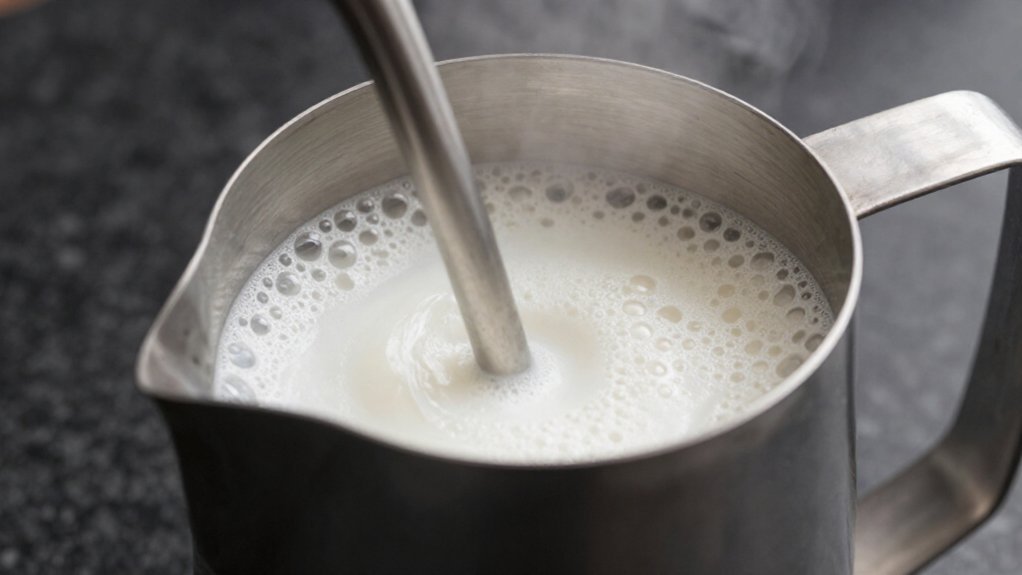
With your pitcher tilted at 15 to 30 degrees, you’re ready to position the wand. First, purge the steam wand to release any water, then place the tip just below the milk’s surface in your frothing pitcher. You’re aiming shallow enough to stretch the milk without splashing milk everywhere.
Keep the wand at this depth for 3 to 5 seconds. You’ll hear a soft hissing sound, like paper tearing, as you add air into the milk. This controlled air incorporation creates the foundation for good microfoam. Listen carefully: screeching means you’re too shallow, silence means you’re too deep.
Once you’ve added enough air, you’ll move the wand deeper into the milk. This shift maintains a smooth vortex and stops new foam from forming.
Recommended Products

【Food Grade Material】This milk frothing pitcher is made of high-quality 304 stainless steel, which is rust proof, stain proof, and heat resistant. It has a stylish appearance and is very easy to clean after use.

Perfect Combination Of Milk Frothing Pitcher And Latte Art Pen: The milk frother jug can be used in different ways: froth or steam milk for lattes; measure liquids; serve milk or cream. Featured with a latte art pen which can shape kinds of beautiful coffee pattern. Perfect for making frothing or steaming milk for espresso, cappuccino or hot chocolate. Be your own barista in home and office.

TOP QUALITY - The frother pitcher is made of #304 stainless steel with non-stick teflon coating, ust-proof, stain-proof and crash-proof, unbreakable for daily use. Dishwasher-safe & easy to clean with soapy water.
Add Air First, Then Whirlpool for Microfoam
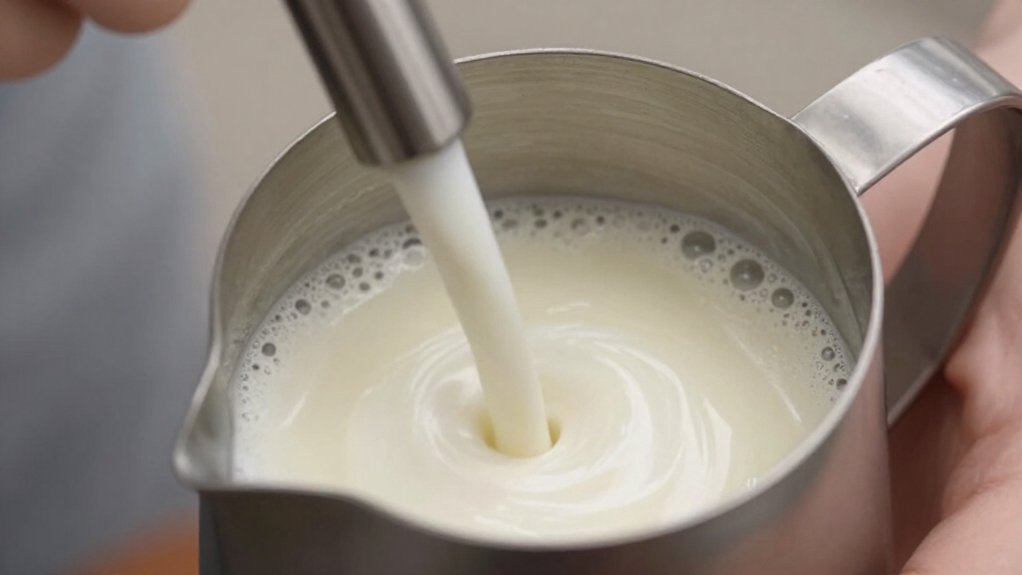
Once you’ve added air for three to five seconds, lower the steam wand deeper into the milk. You want to add air first while the milk stays cool, since this builds stable microfoam for the best froth milk results. Keep the steam wand shallow at the start, listen for a soft hiss, and watch the milk double in volume.
When you lower the tip, tilt the pitcher to create a whirlpool that rolls the milk in a circle. This motion smooths the bubbles and gives you the right texture for latte art. Don’t add more air once the pitcher feels warm; just keep the whirlpool going. You’re aiming for glossy, paint-like microfoam without big bubbles. Stop when the milk reaches 135–150°F, then tap and swirl to finish.
Recommended Products

FOR BREVILLE REPLACEMENT PART: The Latte Frothing Disc is engineered specifically for the Breville Milk Cafe BMF600XL, allowing you to create rich, creamy microfoam for Cafe-style lattes and cappuccinos right at home. By adding this premium frothing disc to your Milk Cafe setup, you can effortlessly enhance the texture and consistency of steamed milk—ideal for achieving perfectly smooth microfoam every time.

[Rich Hot Foam in About 2 Minutes] - MagHeat IH heating helps heat milk quickly and evenly for smooth hot foam without the long wait. Based on internal testing at 77°F room temperature, DualFro Ultra heats up 2x faster with 50% more even heating vs DualFro 600.

Stop at 150°F Before the Milk Scalds
Because milk keeps absorbing heat after you stop steaming, you’ll want to kill the steam right at 150°F (66°C), which gives you a safety buffer before scalding sets in. If you’re using a thermometer, cut off the steam early, since the temperature can climb another 10°F (5°C) after you stop. No thermometer? Stop when the pitcher feels too hot to hold comfortably.
Whole milk gives the best froth for latte art, but non-dairy milks work too if you adjust your technique. Frothing past 160°F (71°C) burns the milk, turning it bitter and ruining the sweet, creamy taste you need.
When you hit your target on the espresso machine, keep the wand tip in the milk briefly, then remove the pitcher. Tap and swirl to finish the texture before pouring.
Recommended Products

PREMIUM DESIGN: Stainless steel milk frothing pitcher with precision spout for controlled pouring and latte art creation

【Food Grade Material】This milk frothing pitcher is made of high-quality 304 stainless steel, which is rust proof, stain proof, and heat resistant. It has a stylish appearance and is very easy to clean after use.

The ESPRO Toroid frothing pitcher helps you make the sweet, rich, velvety microfoam that transforms a cappuccino or latte into pure bliss. The sleek and modern design of this pitcher adds an aesthetic touch to your coffee bar, complementing any decor.
Tap, Pour, and Clean Your Steam Wand
As soon as you stop steaming, you’ll want to tap the pitcher on the counter a few times to knock out big bubbles, then swirl it to mix the foam and milk together. Tap the pitcher gently to pop larger bubbles that break up your desired foam. Swirl the milk vigorously; this helps the froth well and keeps the milk’s volume uniform and glossy.
Pour immediately into your cup for best results, before the foam separates from the liquid.
Finally, wipe the steam wand with a clean, damp towel right away. Purge before steaming, and purge again after to blast out any residual milk. This prevents sour buildup and keeps your wand clean and ready for next time.
Recommended Products

Keep your espresso machine performing flawlessly with this steam wand cleaning needle. The sharp 304 STAINLESS STEEL NEEDLE easily pierces dried milk residue and blockages to restore pressure for perfect microfoam. The material makes it a durable espresso steam wand cleaning tool.

2500W High-Power Steam Cleaner with Fast Heating Delivers 2500W power and heats up in 10–15 seconds, reaching 229°F / 105°C high temperature with 3Bar high-pressure steam. Effortlessly dissolves stubborn oil, dirt, dust and stains on diverse surfaces for efficient daily cleaning. Achieves 100% chemical-free cleaning with no harmful fumes or residue. Note: This steam cleaner has no trigger on the handle; steam is controlled by the power switch on the main unit.

Steam Wand Cleaning Solution: Designed to remove stubborn mineral buildup and milk protein residue from steam wands, milk frothers, and stainless-teel pitchers; ensures clean and efficient operation

I've spent years obsessing over the details that make a house feel like a home — from the perfect bedding layers to a thoughtfully styled coffee corner. My focus is on modern, aesthetic home decor ideas that are beautiful, trend-aware, and actually achievable. Great style shouldn't require a big budget — just the right inspiration.
Follow on Facebook