
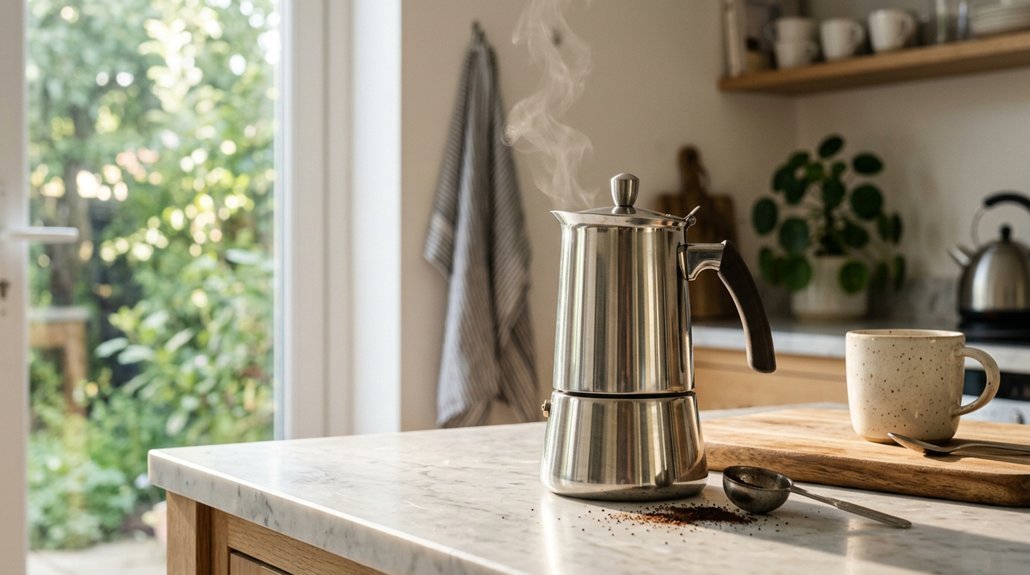


A 250-milliliter moka pot brews roughly two demitasse cups, and you’ll want every drop to taste right, not burnt or bitter. You’ll start with water measured just below the safety valve, ground coffee that’s finer than your drip maker, coarser than espresso, and a low flame that barely kisses the aluminum base. There are five steps that stand between you and that first sip.
Fill Your Moka Pot With Water (Cold or Pre-Heated)
Before you can brew your coffee, you’ll need to fill the bottom chamber of your moka pot with water. You’ll use cold water, or pre-heated water if you want less chance of the coffee cooking on the stove. Don’t fill above the safety valve, keep your water level just below it in the bottom boiler.
Once you’ve settled on your approach, you’ll securely insert the filter and funnel afterward. But first, you’ve got to get that water level right so your brew stays consistent.
If you’re using a 3-cup maker, pre-heating might feel like extra work, and testing showed no taste difference versus a larger 6-cup model. Try both cold and pre-heated methods, then stick with whichever works best for your setup.
Recommended Products

CRAFT COFFEE AT HOME: Produces six demitasse/espresso servings of rich, smooth espresso coffee in minutes. Craft your own espresso, Americano, Cuban coffee, Italian-style coffee, Moka, lattes, cappuccinos and more from the convenience of your home.Filter type:Reusable

MEDIUM CAPACITY: This stovetop espresso maker brews six cups of rich, full-bodied coffee using traditional Italian moka pot brewing method, forcing hot water through grounds for barista-quality espresso flavor in minutes
Grind, Fill, and Level the Coffee: Don’t Pack It
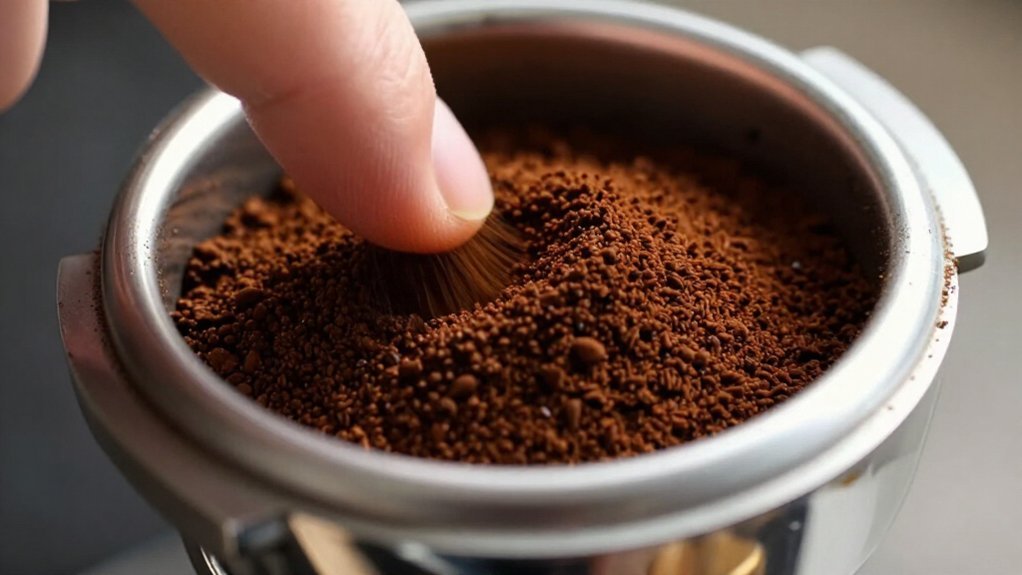
You’ll want to pay close attention to your grind size here, since it makes or breaks your brew. Aim for a grind that’s finer than drip but coarser than espresso grind, which lets water flow through without clogging or rushing.
Grab your freshly ground coffee and fill the filter basket of your stovetop espresso maker until it mounds slightly above the rim. Run your finger across the top to level the grounds, keeping them loose and fluffy. Don’t press or pack. Compression blocks water flow and leads to bitter, over-extracted results.
Sweep away any stray grounds from the rim. These can prevent a proper seal. Once the basket holds an even, unpacked bed of coffee, drop it into the bottom chamber. You’re ready for the next step.
Recommended Products

The original moka coffee pot: Moka Express is the original stovetop espresso maker, it provides the experience of the real Italian way of preparing a tasteful coffee, its unique shape and the inimitable gentleman with moustache date back to 1933, when Alfonso Bialetti invented it.

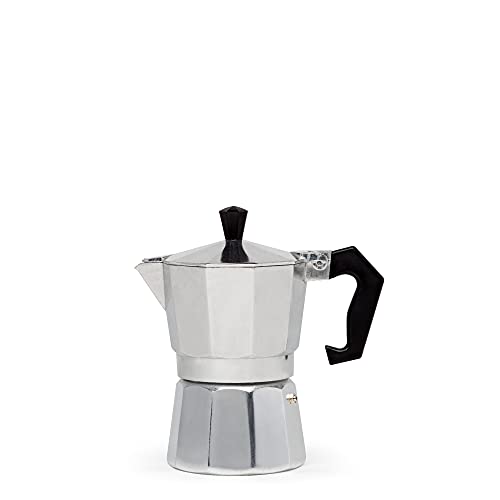
CRAFT COFFEE AT HOME: Produces three demitasse/espresso servings of rich, smooth espresso coffee in minutes. Craft your own espresso, Americano, Cuban coffee, Italian-style coffee, Moka, lattes, cappuccinos and more from the convenience of your home.
Screw the Chambers Together Tight
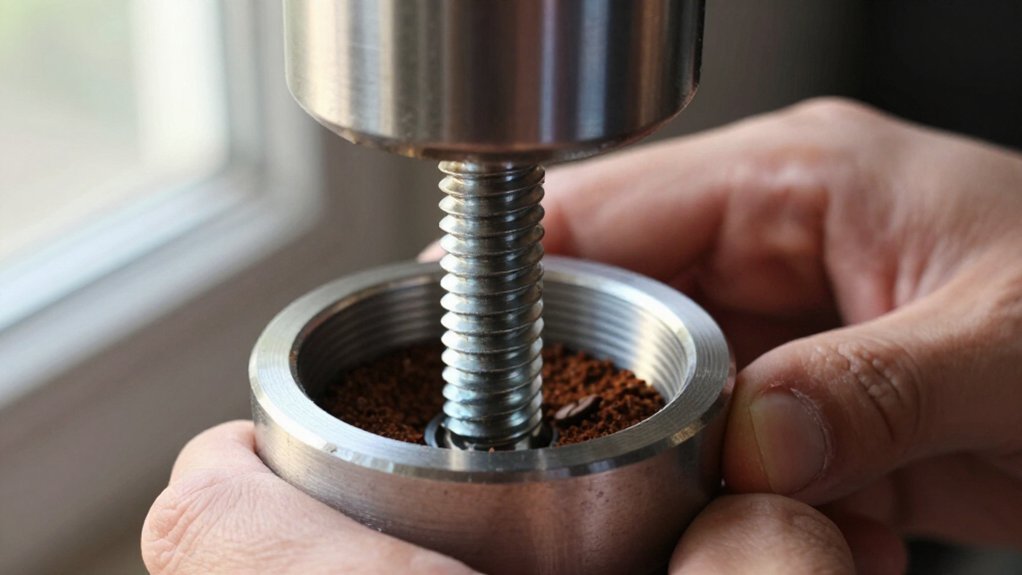
Once the filter basket sits inside the bottom chamber, pick up the top portion and line up its threads with the base. Hold the bottom chamber with one hand, grip the top chamber with your other hand, and twist them together firmly. Don’t stop when it feels hand-snug; you’re aiming for a tight, sealed fit that won’t budge.
Incomplete sealing ruins your Espresso and creates a mess. When chambers aren’t fully secured, pressure escapes and your Coffee under-extracts. You need that solid closure for the Stovetop Espresso maker to build proper pressure.
Twist until you can’t turn it further. The metal threads should feel firm against each other, not loose or wobbly. This secure seal ensures even extraction when heat hits the water below.
Recommended Products

⭐ [ 9 Espresso cup size Moka Espresso Coffee maker] This moka pot makes 9 ESPRESSO CUPS at a time. Please note this is not 9 coffee mugs, but 9 espresso cups. This is a stovetop espresso maker, Moka pot, & manual coffee percolator. Use this stove top percolator coffee pot to make home espresso like a barista. Its easier to use than electric espresso coffee machines and makes a rich cup of moka espresso coffee.

The original moka coffee pot: Moka Express is the original stovetop espresso maker, it provides the experience of the real Italian way of preparing a tasteful coffee, its unique shape and the inimitable gentleman with moustache date back to 1933, when Alfonso Bialetti invented it.

The original moka coffee pot: Moka Express is the original stovetop espresso maker, it provides the experience of the real Italian way of preparing a tasteful coffee, its unique shape and the inimitable gentleman with moustache date back to 1933, when Alfonso Bialetti invented it.
Brew on Low Heat and Listen for the Gurgle
With the chambers screwed tight, you’re ready to put the pot on the stove. To make Stovetop Espresso properly, you’ll set a low flame under the pot. The hot water found at the bottom needs gentle heat to rise through the coffee without scorching it.
Keep the lid down while you wait. You’ll hear a distinct gurgle when the brew pushes upward, coffee filling the top chamber. When you catch that sound, you’ve hit your mark.
- Set your burner to low flame for steady, even heating.
- Keep the lid closed to catch the sound cues clearly.
- Listen for the gurgle, then cut the heat immediately.
Turn off the stove the moment you hear that bubbling signal. Your patience with low heat rewards you with smooth, rich espresso.
Recommended Products

Timed coarse-to-fine grinding: Rotary knob marked 0–30 seconds. Set once, press to run; shorter for French press, longer for finer drip or espresso-style grounds.

QUALITÀ ORO: An 8.8 oz ground coffee tin ideal for espresso and drip preparation. (Pack of 6)

QUALITÀ ORO: An 8.8 oz ground coffee tin ideal for espresso and drip preparation. (Pack of 4)
Stop the Brew and Serve Immediately
Cut the heat the moment that gurgling sound fades, and lift the pot off the burner without delay. Do not let your stovetop espresso machine sit there, because continued heating will ruin the flavor even after the coffee reaches the top chamber.
You should keep the lid down during brewing, as this traps heat and keeps extraction steady. Once the final gurgle stops, remove the coffee maker from the stove right away. Then pour from the top chamber while the brew is fresh and hot.
Make sure you brew with a low flame from start to finish, and always stop at the end of the cycle. Unlike electric coffee makers, this method needs your attention at the finish. Serve immediately, and enjoy your espresso at its peak.
Recommended Products

CRAFT COFFEE AT HOME: Produces nine demitasse/espresso servings of rich, smooth espresso coffee in minutes. Craft your own espresso, Americano, Cuban coffee, Italian-style coffee, Moka, lattes, cappuccinos and more from the convenience of your home.
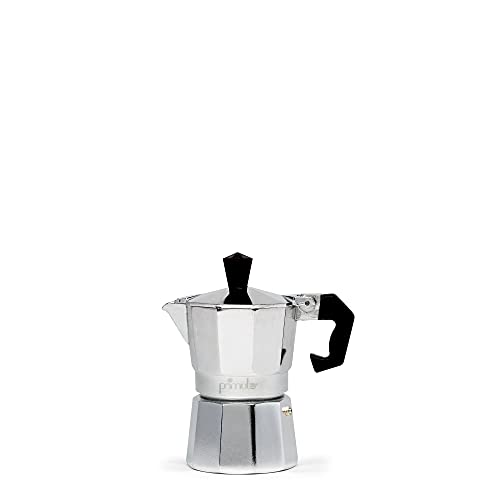
COMPACT 1-CUP CAPACITY: Brews 1 demitasse serving of rich espresso in minutes. Craft espresso, Americanos, Cuban coffee, Italian-style moka, lattes, cappuccinos, and more at home, in the office, or on the go.
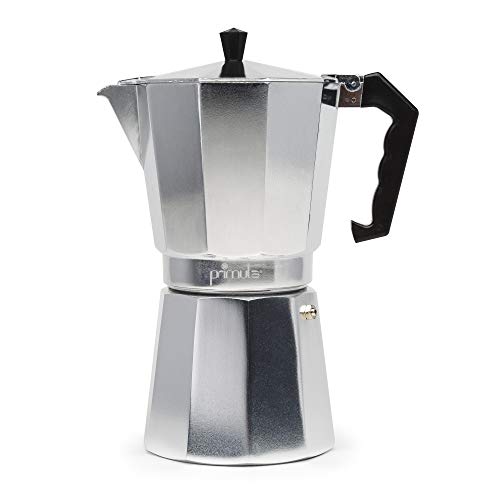
CRAFT COFFEE AT HOME: Produces twelve demitasse/espresso servings of rich, smooth espresso coffee in minutes. Craft your own espresso, Americano, Cuban coffee, Italian-style coffee, Moka, lattes, cappuccinos and more from the convenience of your home.

I've spent years obsessing over the details that make a house feel like a home — from the perfect bedding layers to a thoughtfully styled coffee corner. My focus is on modern, aesthetic home decor ideas that are beautiful, trend-aware, and actually achievable. Great style shouldn't require a big budget — just the right inspiration.
Follow on Facebook