
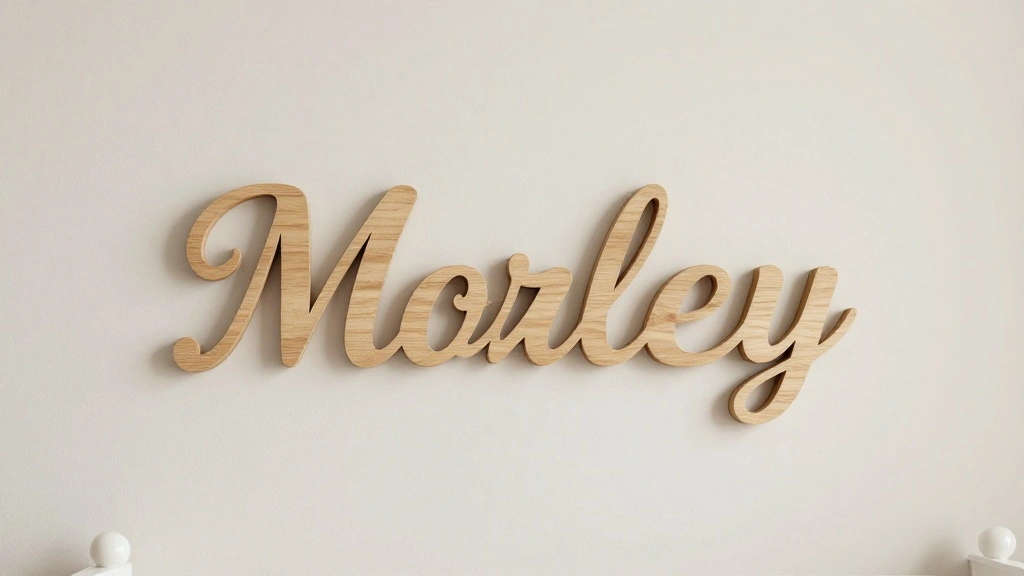


Creating a personalized space for your little one can be both exciting and overwhelming, especially when it comes to designing a gender-neutral nursery. You want to ensure the decor is not only cute but also meaningful. A unique wooden name sign can serve as a focal point and add a personal touch to the room. This guide provides a simple, step-by-step method to craft your very own wooden name sign, giving your nursery a special flair.
By the end of this project, you will have a beautiful wooden name sign that reflects your child’s identity. You’ll learn how to select materials, use basic tools, and apply finishing touches for a polished look. This project is geared towards beginners, making it accessible even if you have little to no woodworking experience. Estimated time: 2-3 hours means you can complete this project in a weekend!
Get ready to dive into a rewarding DIY experience that will enhance your nursery’s ambiance and leave you with a sense of accomplishment. Let’s get started!
TL;DR Summary
- Create a personalized wooden name sign for your nursery.
- Follow 7 simple steps from gathering materials to finishing touches.
- Use the included free template to design your sign.
- Estimated time: 2-3 hours with beginner-friendly instructions.
Recommended Products


Sizing is based on Total width from left to right

Easy to Mount: Includes high-quality double-sided adhesive stickers and metal hangers. Easily and quickly attach custom signs to the wall.
TL;DR Summary
Editor’s Choice

GOTIDEAL Craft Acrylic Paint Set,8 Primary Colors((120ml,4 oz) Rich Pi…
 Amazon$18.99
Pro Grade Paint Brushes, 5-Piece Paint Brush Set, Flat & Angle Brushes f…
Amazon$7.98
Balsa Wood Sheet, 5 Pack Plywood Sheets, Basswood Sheets 12X12X1/16 Inch…
Amazon$8.99Prerequisites/Materials Needed
- Materials:
- Wood board (1″ x 6″ x 24″)
- Wood stain or paint (color of your choice)
- Sandpaper (medium and fine grit)
- Wood glue
- Hooks or wall mounts for hanging
- Tools:
- Jigsaw or handsaw
- Paintbrush or cloth for staining/painting
- Drill with drill bits (if needed)
- Pencil for marking
- Measuring tape
- Template: Download the free name sign template here.
Recommended Products

WOOD PALLET PLAQUE BLANK -10x10 Inch Unfinished Wood Ready to Decorate and Personalize - For DIY , Gifts & Crafts

Elegance with Bamboo: our wooden name plate holders are crafted from bamboo, combining sustainability with style; The natural wood color enhances any decor, while the material offers durability and smooth; Ideal for personalized desk name plates, these wooden holders bring a touch of nature to your workspace, supporting green choices without compromising on elegance
Design Your Own: Please clicking "Customize Now" button and click "Upload" button to Upload your Image. If you want to add text, then choose Font and Font Color, input your text.
Prerequisites/Materials Needed
Editor’s Choice

Romeda 8-Pack Sanding Sponge, Four Grits Per Pack 60/80/120/220, Washabl…
Amazon$6.99
ABEIER Washable Finger Paint for Toddlers, Safe Non-Toxic, 12 Vibrant Co…
Amazon$12.79
Skill Level & Time Estimate
Skill Level: beginner
Estimated Total Time: 2-3 hours
Step Breakdown:
- Gather materials: 30 minutes
- Prepare the wood: 30 minutes
- Cut the name sign: 1 hour
- Sand and finish: 1 hour
- Final assembly and hanging: 30 minutes
Recommended Products

Artist-Quality Acrylic Paint Set: This set features 24 premium acrylic colors, each in a 60ml/2oz bottle. It also includes 12 versatile painting brushes & a palette and a beginner's user guide with a color wheel. Perfect for kids, students, beginner art lovers and professional artists for painting and crafting. Friendly reminder:Remove Inner Seal Before Use.

ALL INCLUSIVE PAINT SET: Unleash your creativity from beginner to professional level with this fun and educational acrylic paint. Open the box, and you're ready to draw and paint! It comes complete with 36 vibrant paints in 60ml bottles, providing ample colors for your artistic endeavors. Additionally, we've included 12 high-quality acrylic paint brushes, catering to both kids and adults.

🎨Safety guarantee & High quality- Made of premium paint material, conforming to ASTM D-4236 and EN71 standards,HissiCo acrylic paint set is in rich pigment, creamy, non toxic and safe for adults, teens and kids’ creative art painting time
Skill Level & Time Estimate
Editor’s Choice

Tried & True Original Wood Finish, 8 oz. – Linseed Oil & Beeswax Blend, …
Amazon$24.99
YNZDRWA 8 Pack Sanding Sponge, Washable and Reusable Sanding Blocks for …
Amazon$4.97
Complete Wood Carving Kit for Beginners – Gift Ready Wood Carving Tools …
Amazon$47.99Step 1: Gather Your Materials
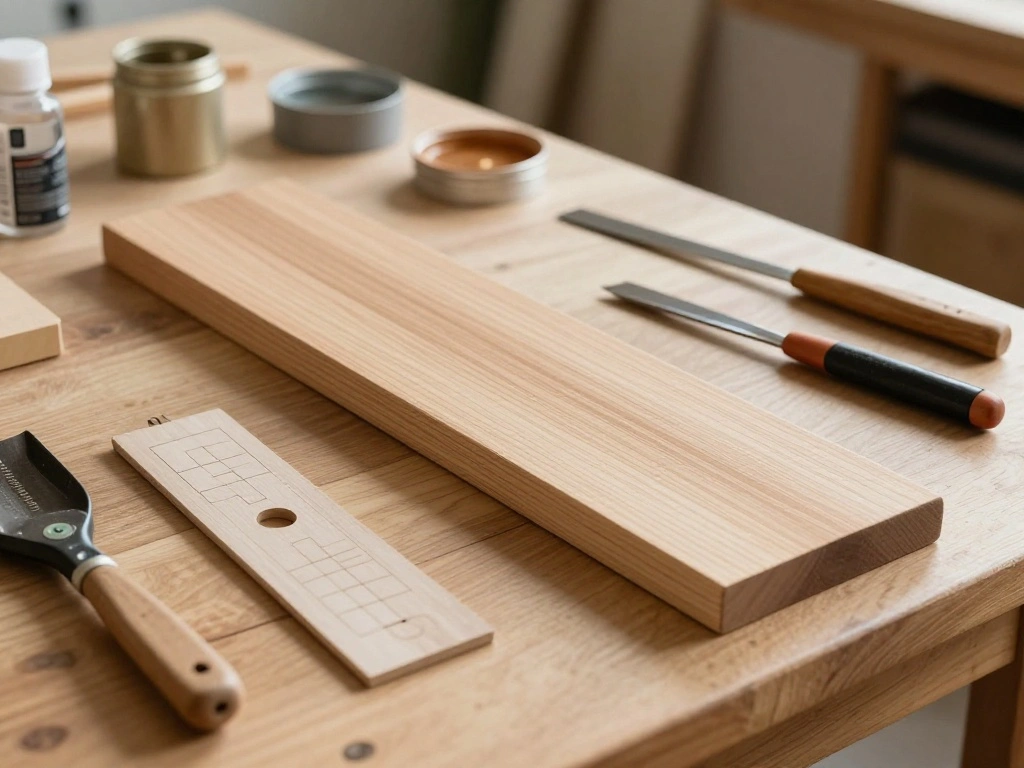
Start by collecting all the materials and tools you will need for this project. Having everything ready will streamline the process and save you time. Here’s a quick checklist:
- Choose a wood board that suits your desired size (1″ x 6″ x 24″ is a good standard).
- Pick the color of wood stain or paint you want for your sign.
- Ensure you have sandpaper, wood glue, and hanging hardware.
Pro Tip: Consider choosing a wood species that is easy to work with, such as pine or birch, for a smoother finish.
This step is crucial as it sets the foundation for your project, enabling you to work efficiently. Time estimate: 30 minutes.
Recommended Products

PROFESSIONAL BRUSHS: The set of brushes include 12pcs of different sizes. Model #1,#2,#3,#4,#5,#6,#7,#8,#9,#10,#11,#12, Apply to oil, acrylic, watercolor, art painting, face painting, miniatures, detailing, craft art painting, model, etc.

12 Essential Shapes for Every Stroke: Nicpro 12-piece artist paint brush set includes 2 Flat brushes #7/#12, 3 Round brushes #2/#5/#9, 3 Filbert brushes #3/#8/#10, 2 Angle brushes #6/#11, 1 Bright brush #4, and 1 Liner brush #1. A complete brush mix for broad coverage, clean edges, fine lines, blending, layering, filling, and detail work

Set includes the following synthetic fiber high quality brushes
Step 1: Gather Your Materials
Editor’s Choice

Vmiapxo 16 Pack Unfinished Wood Cutting Board Craft with Handle, Wooden …
Amazon$16.95
Gorilla Ultimate Waterproof Wood Glue, Natural Wood Color, 8 Ounce (Pack…
Amazon$5.97
Varathane 368035 Less Mess Wood Stain and Applicator, 4 oz, Golden Oak
Amazon$8.98Step 2: Prepare the Wood
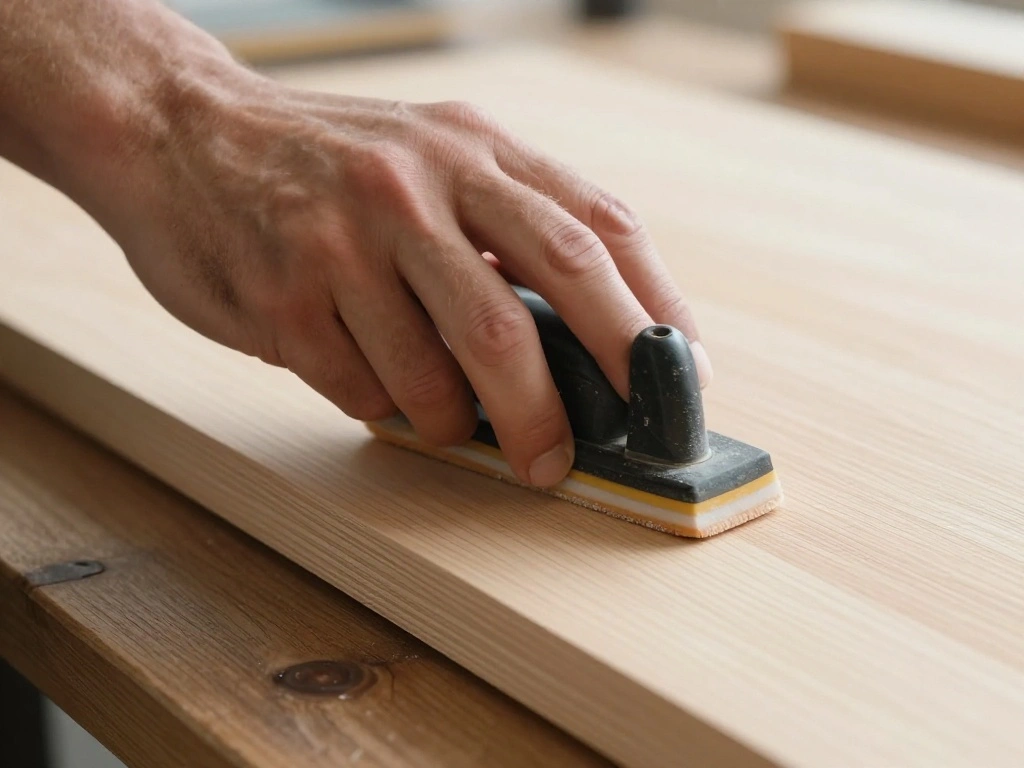
Once you have your materials ready, it’s time to prepare the wood. Proper preparation ensures a smooth finish and better adhesion for paint or stain. Follow these steps:
- Using sandpaper, smooth the edges and surfaces of the wood board. Start with medium grit and finish with fine grit.
- Wipe down the wood with a damp cloth to remove any dust from sanding.
- Optionally, mark the outline of your desired sign shape on the wood with a pencil.
Warning: Always sand in the direction of the wood grain to avoid scratches.
This preparation step matters because it enhances the look of your final product and ensures the paint or stain adheres properly. Time estimate: 30 minutes.
Recommended Products

【Adjustable Temperature Level】There are two power options: 30W and 15W. 30W for wood burning; 15W for leather burning; You can adjust the temperature according to different materials and project needs.
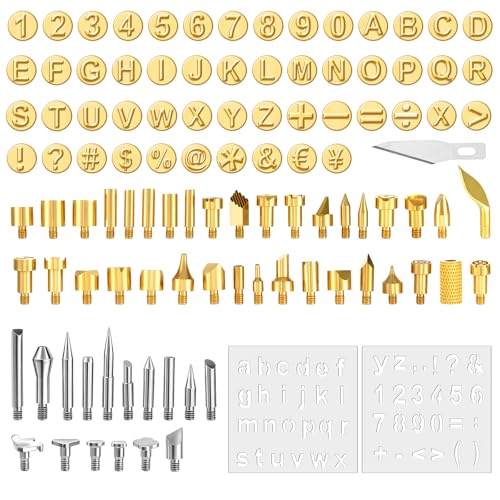
Complete Woodcut Alphabet Set: Contains 105 high-quality brass and stainless steel nibs, including A-Z letters, 0-9 numbers, and 16 symbols. Perfect for precise and creative imprints and personalized designs on wood, leather, paper, and gourds.

Sufficient for DIY at Will: you will receive 105 pieces of wood burning kit, included letters, numbers, signals, diverse and rich in quantities, the kit contains a variety of wood burning heads you need for your wood burning process, to meet your various demands
Step 2: Prepare the Wood
Editor’s Choice

Sand Paper, 48 PCS Sandpaper, 120 to 5000 Assorted Grit Sandpaper Sheets…
Amazon$6.99

DWIL Water Based Wood Stain – Multiple Finishes, Fast Drying, Indoor and…
Amazon$9.17Step 3: Cut the Name Sign Shape
Now that your wood is prepared, it’s time to cut the name sign shape. This step requires precision to ensure your sign looks neat and professional. Here’s how to do it:
- Using your jigsaw or handsaw, carefully cut along the marked outline of your name sign.
- If your name is long, consider cutting the wood into smaller sections for easier handling.
- Wear safety goggles to protect your eyes from sawdust.
Pro Tip: Practice cutting on a scrap piece of wood first to get comfortable with the saw.
The shape of your sign is significant as it defines the overall look and feel of your nursery decor. Time estimate: 1 hour.
Recommended Products

Endless Creativity: The large flowered wooden alphabet letters can be used to spell out names, words or phrases, anniversaries, create monograms, personalized signs or even just a single letter for home decoration, such as kids rooms, nursery, living rooms, paly room, reading room, kitchen, hallway ect. Also can add a personal touch for party decoration, birthday, wedding , baby shower, graduation, photo shoots, Easter, Halloween, Thanksgiving, Christmas, New Year and other special occasions
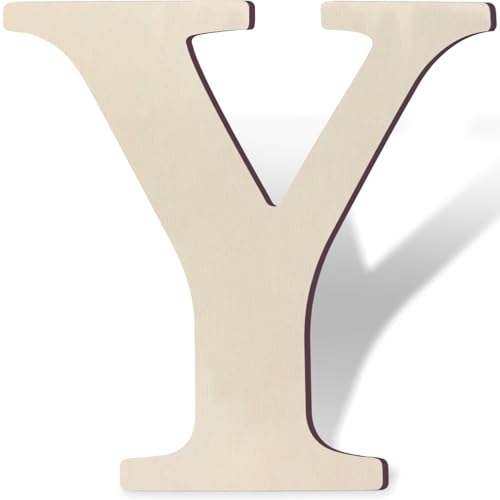
Endless Creativity: Our large wooden alphabet letters can be used to spell out names, words or phrases, anniversaries, years, create monograms, personalized signs or even just a single letter for home decoration, such as nursery, kids rooms, living rooms, paly room, reading room, kitchen, hallway ect. Also can add a personal touch for party decoration, birthday, wedding , baby shower, graduation, photo shoots, Easter, Halloween, Thanksgiving, Christmas, New Year and other special occasions

Endless Creativity: Our large wooden alphabet letters can be used to spell out names, words or phrases, anniversaries, years, create monograms, personalized signs or even just a single letter for home decoration, such as nursery, kids rooms, living rooms, paly room, reading room, kitchen, hallway ect. Also can add a personal touch for party decoration, birthday, wedding , baby shower, graduation, photo shoots, Easter, Halloween, Thanksgiving, Christmas, New Year and other special occasions
Step 3: Cut the Name Sign Shape
Editor’s Choice
Safety GlassesClear Anti-Fog Goggles Over-Spec Glasses Protective Eye We…
Amazon$9.99
DEWALT 20V MAX XR Jig Saw, 3,200 Blade Speed, Cordless, Brushless Motor,…
Amazon$149.90Step 4: Sand the Edges and Surface
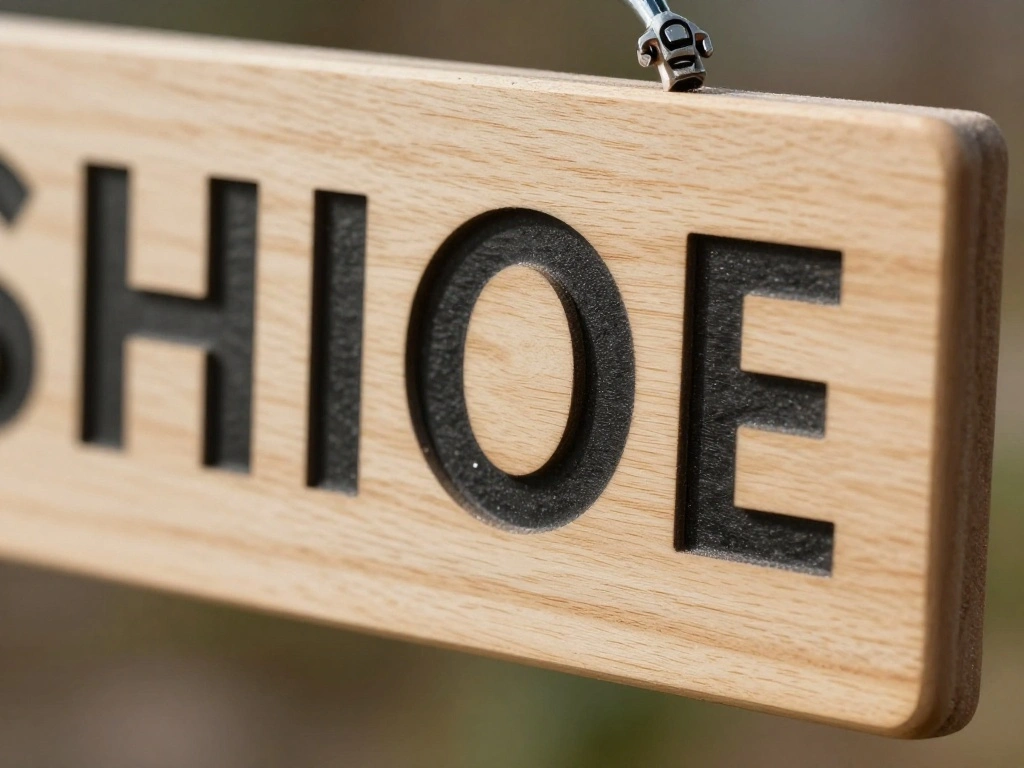
After cutting your sign, it’s essential to sand the edges and surface again to eliminate any rough spots. A smooth finish is crucial for safety and aesthetics. Follow these steps:
- Use medium grit sandpaper to round off the edges of your cut sign.
- Switch to fine grit sandpaper for the surface to make it smooth.
- Wipe down the sign again with a damp cloth to remove any dust.
Warning: Failing to sand properly can result in splinters, which are unsafe for children.
This step is important to ensure a polished look that enhances the nursery’s overall vibe. Time estimate: 30 minutes.
Recommended Products

Wooden Signs for Crafts: Personalize 24 unfinished wood blanks with names, short phrases or painted motifs. Each slim paddle is unpainted with no surface film, so you can draw or paint your design directly on it.

DIY FUN: The Blank unfinished wood are easy to write on or paint, perfect for DIY design on each piece.You can DIY handcraft with your friends and families.

Package Contents: You will receive 24 pieces unfinished hanging wood sign in 3 styles, a bundle of hemp rope about 10 meters long.
Step 4: Sand the Edges and Surface
Editor’s Choice
Sand Paper, 48 PCS Sandpaper, 120 to 5000 Assorted Grit Sandpaper Sheets…
Amazon$6.99
CAREGY 16Pcs Tack Cloth for Removing Dust from Woodworking, Sanding Part…
Amazon$9.99
3M Sandpaper, 220 Grit, 5 Sheets, 9 in x 11 in, Sands Paint, Wood & Meta…
Amazon$5.45Step 5: Apply Paint or Stain
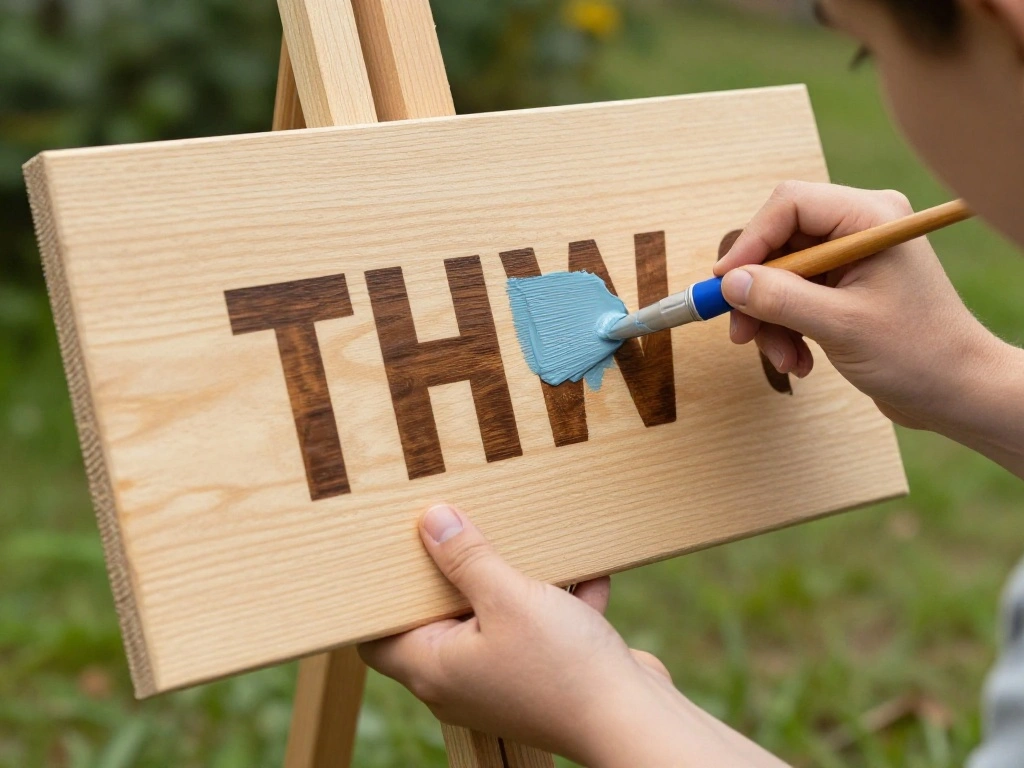
With your sign prepared, it’s time to bring it to life with color! Applying paint or stain enhances the wood’s natural beauty. Here’s how to do it:
- Choose a well-ventilated area to work in and lay down a drop cloth to protect your surfaces.
- If using paint, apply it evenly with a brush or cloth. If using stain, apply it with a cloth and wipe off excess.
- Let the first coat dry completely before applying a second coat for better coverage.
Pro Tip: Test your paint or stain on a small area before applying to ensure you like the color.
This step is crucial as it adds character and charm to your sign, making it a standout feature in your nursery. Time estimate: 1 hour.
Recommended Products

36 VIBRANT COLORS : Shuttle Art 36 colors acrylic paint set contains 36 unique colors highly pigmented paints, including classic metallic gold and silver colors, also comes with 12 brushes and 1 palette, when you receive this art painting kit you can paint right way

CONVENIENT SIZE & FUN BRIGHT COLORS - This versatile acrylic paint set includes 16 - 2 oz bottles of colorful craft paint. The colors in this kit include: White, Black, Flag Red, Jack-o-Lantern, Bright Blue, Candy Pink, Nutmeg Brown, Bright Yellow, New Shamrock, Purple Iris, Too Blue, Fuchsia, Key West, Pewter Grey, Bright Magenta, and Parrot Blue

VIBRANT ACRYLIC PAINTS : Shuttle Art 30 Acrylic Paint Set consists of 30 vibrant assorted colors and with BONUS 3 FREE PAINT BRUSHES. Each tube is filled with 12 ml (0.4 oz) paints with rich pigments that are professional artist quality
Step 5: Apply Paint or Stain
Editor’s Choice

55PCS Acrylic Paint Set of 36 Colors 2fl oz 60ml Bottles 12 Brushes,Non …
Amazon$24.98
MāKRS Stain Pad, Cut-to-Size Staining Pads, 3-Pack, Lint, Snag, Streak-…
Amazon$32.99
12 x 9 Ft Plastic Drop Cloths (6-Pack) – Disposable Painter’s Sheeting &…
Amazon$9.98Step 6: Attach Wall Mounts or Hooks
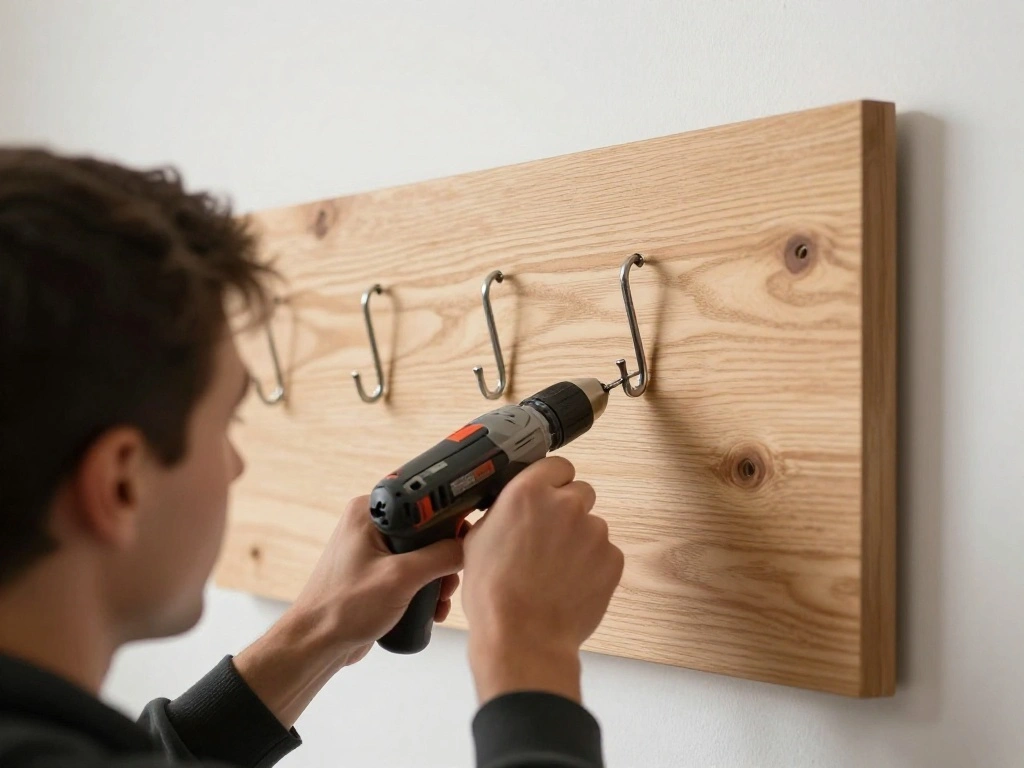
After your sign is painted or stained and dried, it’s time to prepare it for display. This step involves attaching hardware for mounting. Follow these steps:
- Decide where you want to hang your sign and mark the spots on the wall.
- Using a drill, attach the hooks or wall mounts to the back of your sign, ensuring they’re evenly spaced.
- Ensure the hooks are secure and can hold the weight of the sign.
Warning: Ensure your wall mounts are suitable for the type of wall you are using (drywall, concrete, etc.).
<pThis step is essential to ensure your sign hangs safely and securely. Time estimate: 30 minutes.
Recommended Products

What will you receive: the package comes with 6 pieces of angled flat art paint brushes, and the sufficient quantity can meet your various painting needs; These nylon hair brushes are fixed with exquisite metal ferrules, and the brushes hair will not loosen or fall off
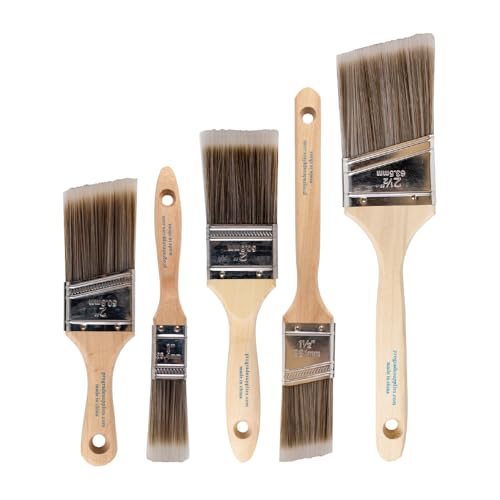
COMPLETE 5-PIECE BRUSH SET FOR EVERY PAINTING TASK — Includes 1 Inch Flat, 1.5 Inch Angle, 2 Inch Flat, 2 Inch Angle Stubby, and 2.5 Inch Angle brush giving you every size professional painters use daily. Get all 5 for less than the price of a single brush from hardware store brands — professional grade performance at a fraction of the cost. Perfect for walls, trim, cabinets, doors, furniture, and detailed cutting-in work on any project.
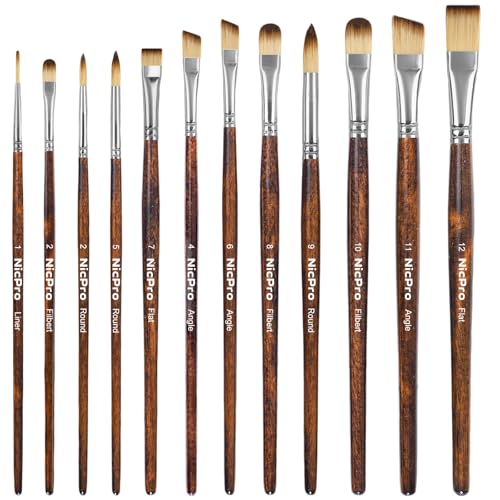
12 Sizes Paint Brush Set - This versatile paint brush set includes 12 brushes in flat (7,12), round (2,5,9), filbert (2,8,10), angle (4,6,11), and liner (1). This set handles all your painting styles—from fine detailing to bold coverage—across acrylic, oil, watercolor, gouache, tempera, and more
Step 6: Attach Wall Mounts or Hooks
Editor’s Choice

Power Drill Cordless: DEKOPRO Cordless Drill 20V Electric Power Drills S…
Amazon$28.99
HUPBIPY 12 Pack Garage Hooks Heavy Duty Utility Steel with Anti-Slip Coa…
Amazon$22.78Step 7: Hang Your Sign
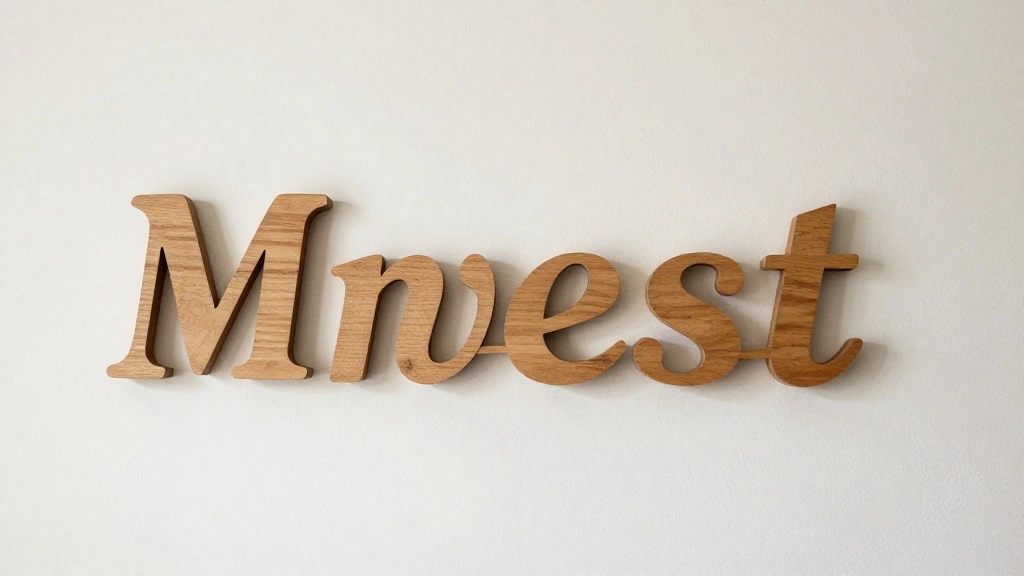
Finally, it’s time to display your beautiful creation! Hanging your sign is the last step of this DIY project. Here’s how to do it:
- Align the sign with the marks you made on the wall earlier.
- Use a level to ensure it hangs straight.
- Secure the sign by attaching it to the wall mounts or hooks you installed.
Pro Tip: Ask someone to help you hold the sign while you secure it to ensure it hangs evenly.
<pThis step is what brings your vision to life, transforming your nursery into a personalized haven. Time estimate: 30 minutes.
Recommended Products

Abundant in Quantity: the set comes with 43 pieces of wood burning stamp kit, including 26 pieces of wood burning letter tips, 10 pieces of number tips, 5 pieces of symbol tips and 2 pieces of drawing tips; Abundant quantity to suit your different wood burning requirements, can be applied to brand or personalize a variety of surfaces, including wood, paper, leather, card and gourd

1.The set contains the complete alphabet – A to Z and are approximately 5/8” tall; width varies by letter;

【Complete 36PCS Branding Iron Set】 This branding irons set includes 36pcs 1-inch branding irons set, including 26 English letters (A-Z) and 10 numbers (0-9) for diverse personalized marking needs. It comes with 3 heating rods for simultaneous heating to improve work efficiency and a pair of anti-scald gloves, ensuring safe and convenient DIY wood branding and craft operation.
Step 7: Hang Your Sign
Editor’s Choice
AMBIRD Wall Hooks with Shelf, 26.57 Inch Entryway Wood Coat Hooks for Wa…
Amazon$43.99
Motovera Self Leveling Laser Level 100ft, Green Cross Line with Tripod, …
Amazon$39.99
ToughBuilt – Universal Tool Mounts, Heavy-Duty Wall and Surface Mounti…
Amazon$39.99Pro Tips
- Choose the Right Font: Use simple, easy-to-read fonts for the name sign to ensure it’s legible from a distance.
- Experiment with Colors: Don’t be afraid to mix and match colors that complement your nursery’s theme.
- Use a Template: Utilize the free template to save time and ensure precise lettering.
- Consider Adding Decorations: Add embellishments like stars or hearts for extra charm.
- Finish with a Sealant: If you use paint, apply a clear sealant to protect the surface from wear.
Pro Tips
Editor’s Choice

15Pcs Paint Brushes Value Pack, Includes 15 Different Types of Brushes, …
Amazon$6.49
124 Pcs Wooden Letters 2 Inch for Crafts Unfinished Capital Wooden Alpha…
Amazon$9.99
Shuttle Art Acrylic Paint, 36 Colors Acrylic Paint Set with Brushes & Pa…
Amazon$24.99Common Mistakes to Avoid
Warning: Skipping the sanding step can lead to a rough finish. Always sand before and after cutting to avoid this issue.
Warning: Over-applying paint or stain can cause drips. Apply in thin layers and allow to dry between coats.
Warning: Use the wrong type of hooks can lead to an unstable sign. Ensure you match the hardware to your wall type.
Common Mistakes to Avoid
Editor’s Choice

FOTYRIG Adhesive Hooks Heavy Duty, 15lb(Max) 180 Degree Rotating Wall St…
Amazon$5.99
YNZDRWA 8 Pack Sanding Sponge, Washable and Reusable Sanding Blocks for …
Amazon$4.97Troubleshooting Section
Problem: The sign is uneven when hung.
Solution: Adjust the hooks or mounts until the sign is level.
Problem: Paint or stain is peeling.
Solution: Sand the area, reapply a thin coat, and seal once dry.
Problem: The sign feels too heavy.
Solution: Use stronger wall anchors or consider a lighter wood option.
Troubleshooting Section
Editor’s Choice

54PCS Premium Micro Sander, Detail & Mini Sander Block – Precision Sma…
Amazon$5.99
Bon 21-169 Hang Hook for Level Heavy Duty Level Hook Scaffolding Attachm…
Amazon$11.37
CrimsonMark 120Pcs #8 Self Drilling Drywall Anchors and Screws kit #8 x …
Amazon$9.99Variations/Alternative Methods
1. Wood Burned Sign: Instead of painting, consider wood burning for a rustic look. Ideal for those who want a unique texture.
2. Fabric-Covered Sign: Cover the wood with fabric instead of paint to add a soft, textured feel.
3. Magnetic Sign: Create a magnetic sign that can be changed as your child grows, using magnetic paint or strips.
Variations/Alternative Methods
Editor’s Choice

Magnetize-It! Magnetic Paint & Primer (Water Based) – Standard “S” Yield…
Amazon$14.93
Blisstime 15PCS 4×6 Inch Wood Squares Unfinished Square Wood Pieces for …
Amazon$6.99
Eovea | Canvas Fabric | Cotton Duck | 100% Cotton | 4oz Lightweight | 60…
Amazon$9.70FAQs
What if I don’t have a jigsaw?
You can use a handsaw, but it may take longer. Alternatively, check if a local hardware store offers cutting services.
How long should I let paint or stain dry?
Typically, allow 1-2 hours for drying before applying a second coat. Ensure it’s fully cured before hanging.
Is it safe to use power tools?
Yes, as long as you follow safety guidelines, wear protective gear, and operate them carefully.
FAQs
Editor’s Choice

Jig Saw Corded: DEKOPRO Electric Jigsaw Tool Power Jig Saws for Woodwork…
Amazon$28.49
Wood Grain Furniture Paint 10.5oz with Tools – All-in-One No Need Prime …
Amazon$18.99
10 Pack Protective Safety Goggle for lab chemistry soft lightweight gogg…
Amazon$25.99Conclusion
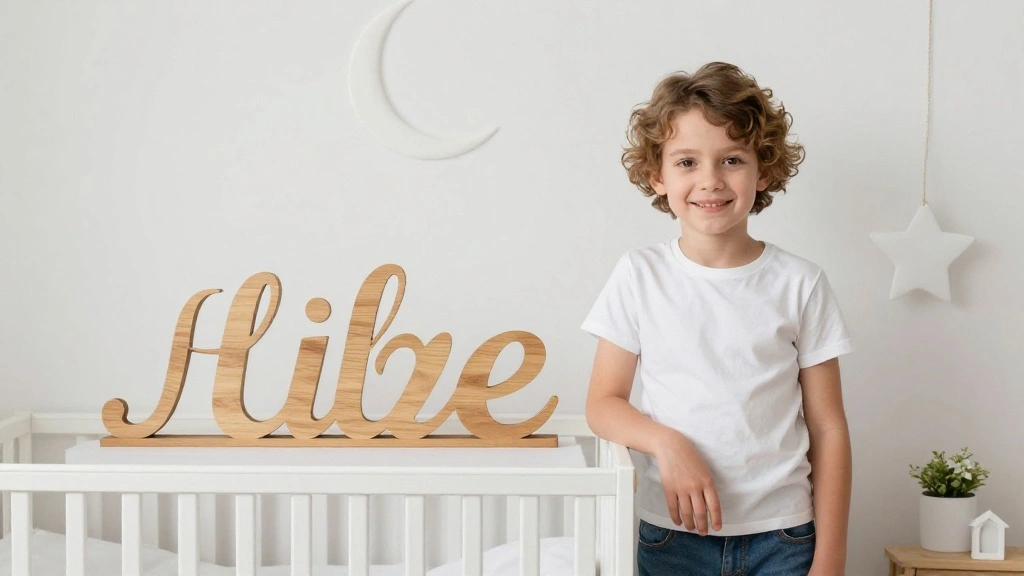
Congratulations on completing your DIY wooden name sign! You’ve added a personal touch to your nursery that will be cherished for years to come. This project not only enhances your decor but also creates a warm and inviting atmosphere for your little one.
Now that you’ve mastered this skill, consider creating more personalized items for your nursery or gifts for friends and family. Explore additional DIY projects that can complement your new sign. Happy crafting!

I've spent years obsessing over the details that make a house feel like a home — from the perfect bedding layers to a thoughtfully styled coffee corner. My focus is on modern, aesthetic home decor ideas that are beautiful, trend-aware, and actually achievable. Great style shouldn't require a big budget — just the right inspiration.
Follow on Facebook