
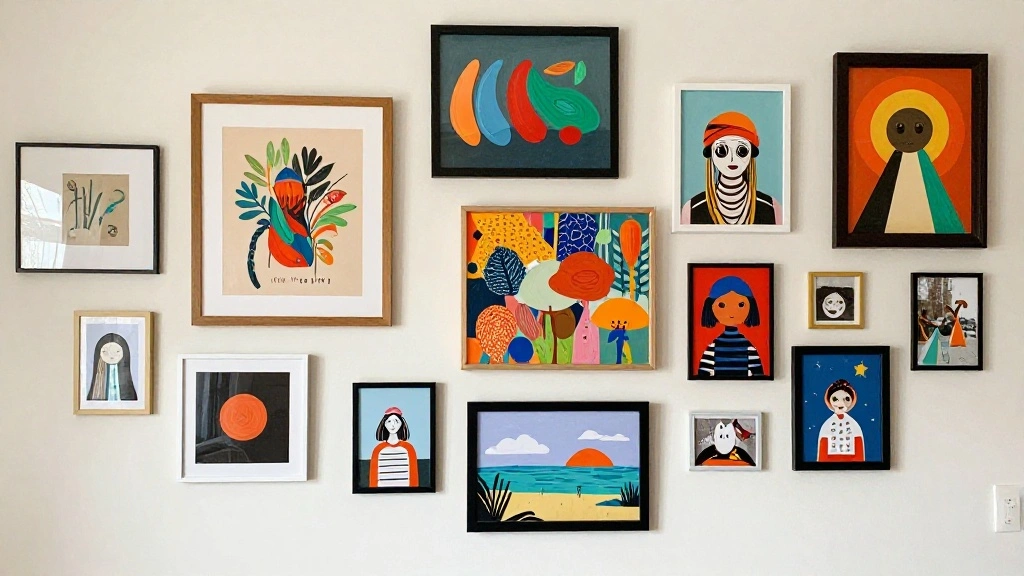


Designing a nursery can feel overwhelming, especially when you’re aiming for a space that radiates warmth and charm without leaning towards traditional gender stereotypes. A gallery wall can be a stunning solution, transforming a plain wall into a vibrant showcase of memories, art, and inspiration. It creates a focal point that not only enhances the nursery but also reflects your family’s personality and style.
In this guide, you’ll learn how to create a beautiful gallery wall specifically tailored for a gender-neutral nursery. By the end, you will have a cohesive, visually appealing arrangement that can include art prints, photos, and decorative items. Whether you choose serene color palettes or a mix of playful designs, your gallery wall will be uniquely yours.
This task is rated as beginner level and will take approximately 2-3 hours to complete, depending on the complexity of your design. You’ll gain practical tips and layout templates to streamline your process.
Let’s dive in and make that wall a canvas for creativity!
TL;DR Summary
- Choose a gender-neutral color palette for your nursery.
- Gather materials and artwork that resonate with your style.
- Plan the layout using templates for a balanced look.
- Hang your artwork securely and make adjustments as needed.
Recommended Products

Vintage Nursery Animal Wall Art Set of 9 This thoughtfully curated set includes 9 charming canvas prints featuring cute forest animals and vintage-inspired illustrations. Soft neutral colors and rustic details create a calm and cozy atmosphere for nurseries and children’s spaces.
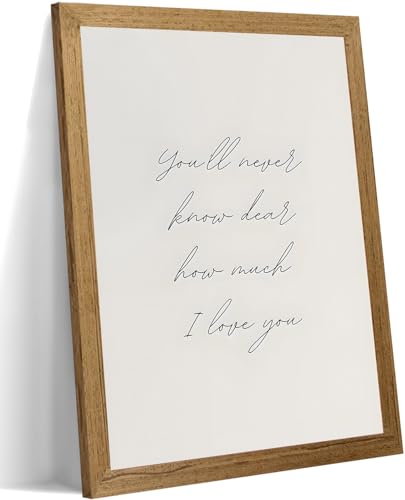
Neutral Nursery Wall Art: This charming 8x10 inch framed print features a timeless baby love quote, perfect for adding a touch of vintage farmhouse style to your baby girl or boy nursery. Ideal for creating a warm, cozy, and inviting nursery decor.

Vintage Nursery Canvas Wall Art: Vintage Nursery Canvas painting set size: 8*10 inches * 5 pieces, we have different styles and sizes for you to choose from to meet your needs and personal preferences. You can hang it anywhere you want, which will show your unique taste and personality and bring a new look to your living space.
TL;DR Summary
Editor’s Choice

Command 15 lb Large Picture Hanging Strips 14 Pairs (28 Strips), Damage-…
 Amazon$12.77

Safari Nursery Wall Art Decor Set of 6 Baby Animal Wall Art Kids Canvas …
Amazon$19.98Prerequisites/Materials Needed
- Artwork: 5-10 pieces of varying sizes (prints, photos, or decor)
- Frames: Matching or complementary frames in various sizes
- Hanging Supplies: Nails, picture hooks, or adhesive strips
- Measuring Tape: To space artwork evenly
- Pencil: For marking on walls
- Level: To ensure frames hang straight
- Step Ladder: For reaching higher placements
Recommended Products

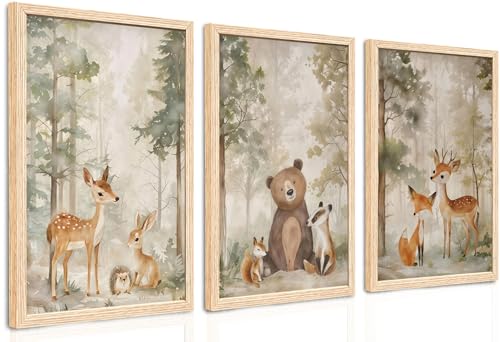
Enchanting Woodland Friends Gathering: Create a heartwarming scene with this triptych featuring adorable animal groups; gentle watercolor portraits showcase forest friends like a bear, fox, deer, rabbit, hedgehog, badger and squirrel sharing peaceful moments, embodying a charming woodland animals theme perfect for nursery art or nature wall art spaces
Prerequisites/Materials Needed
Editor’s Choice

Laser level, Multipurpose Laser tape measure Line 8ft+ Tape Measure Rule…
Amazon$10.99
Command 20 lb XL 16 Pairs Heavyweight Picture Hanging Strips (32 Strips)…
AmazonCheck Price
Malden International Designs Baby Memories Love You To Wood With Gold Fo…
Amazon$16.00Skill Level & Time Estimate
Skill Level: beginner
Total time estimate for creating a gallery wall: 2-3 hours
Breakdown of time:
- Gathering materials: 30 minutes
- Planning layout: 60 minutes
- Hanging artwork: 60 minutes
Recommended Products

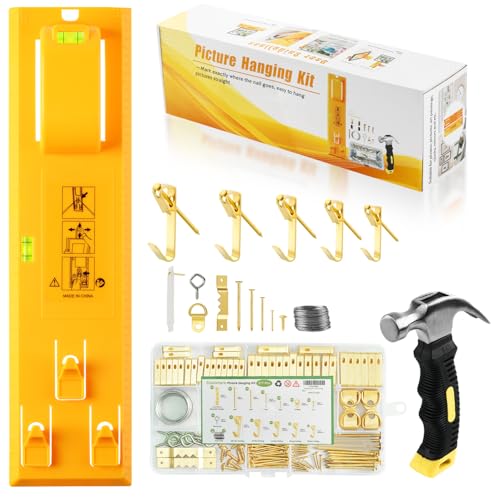
All in One Picture Hanging Kit: Includes tool with level, 218Pcs assorted wall hanging hardware, small hammer and gift box, offering everything needed to decorate walls quickly and easily, perfect for wall art, paintings, photos, canvas, mirrors and decor

See the Spot Before You Drill: Place both ink markers in the keyhole or sawtooth hangers, check the item with the mini bubble level, and press to transfer two clear mounting points. Use the center punch to prepare each mark for drilling
Skill Level & Time Estimate
Editor’s Choice

15 lb & 10 lb Large and Medium 28 Pairs Picture Hanging Strips (56 Strip…
AmazonCheck Price
Classic Pooh Bear Nursery Picture Frame, Baby Gifts for Nursery, Baby Sh…
Amazon$14.99
Go Hang It! Pro, All-in-One Picture Hanging Kit – Picture Leveling and H…
Amazon$36.99Step 1: Choose a Color Palette
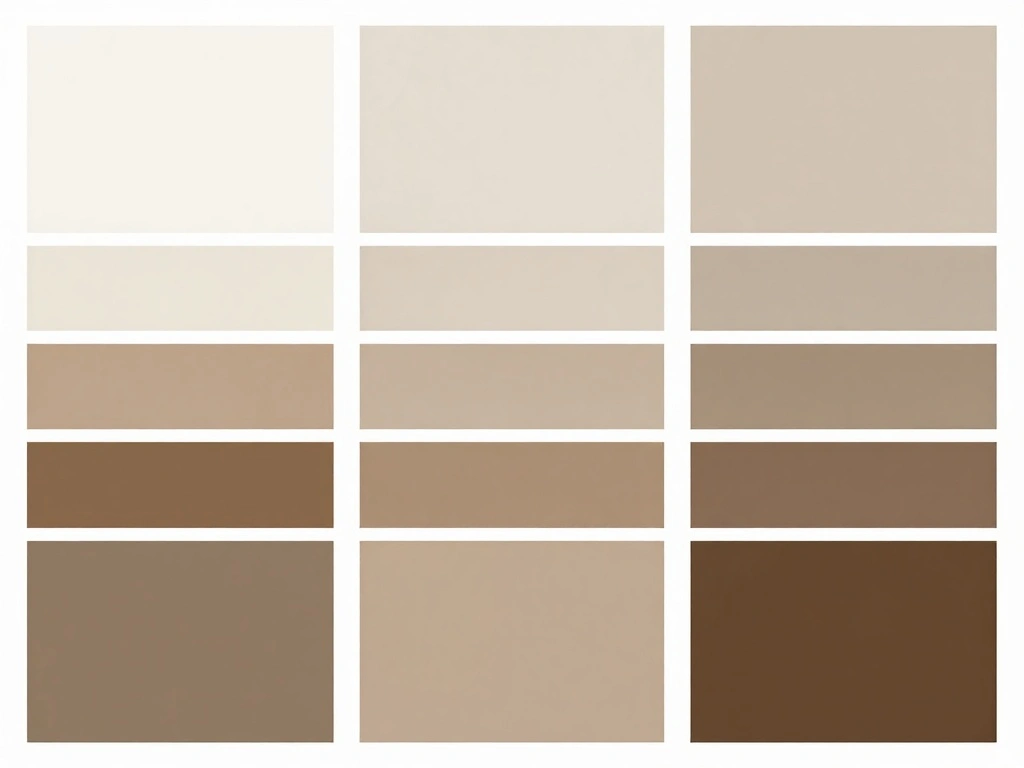
Select a color palette that embodies a gender-neutral aesthetic. Colors like soft yellows, greens, grays, or pastel shades work beautifully. This palette will guide your choice of artwork and frames, ensuring a harmonious look.
Why this matters: A cohesive color scheme ties the room together and creates a calming environment.
Pro Tip: Use color swatches to visualize how different hues work together before making your final choice.
Time estimate: 30 minutes.
Recommended Products

DAMAGE-FREE PICTURE HANGERS: Includes 16 pairs (32 strips) of White Command Medium (10lb) Picture Hanging Strips, unique hassle-free wall hangers for hanging pictures without nails or damage

MAXIMUM FRAME SIZE 8 X 10 INCHES: One package includes 18 pairs (36 strips total) of the Command Small Picture Hanging Strips; four wall adhesive strip pairs hold 4 pounds; maximum frame of 8 x 10 inches

Step 1: Choose a Color Palette
Editor’s Choice

Tanmart Animal Wall Art Pictures Baby Nursery Canvas Wall Art Decor Safa…
Amazon$9.99
20 Sheets Painters Color Diary for 480 Colors Loose Leaf Color Swatch No…
Amazon$13.99
upsimples 11×14 Picture Frame Set of 5, Display Pictures 8×10 with Mat o…
Amazon$22.99Step 2: Gather Artwork
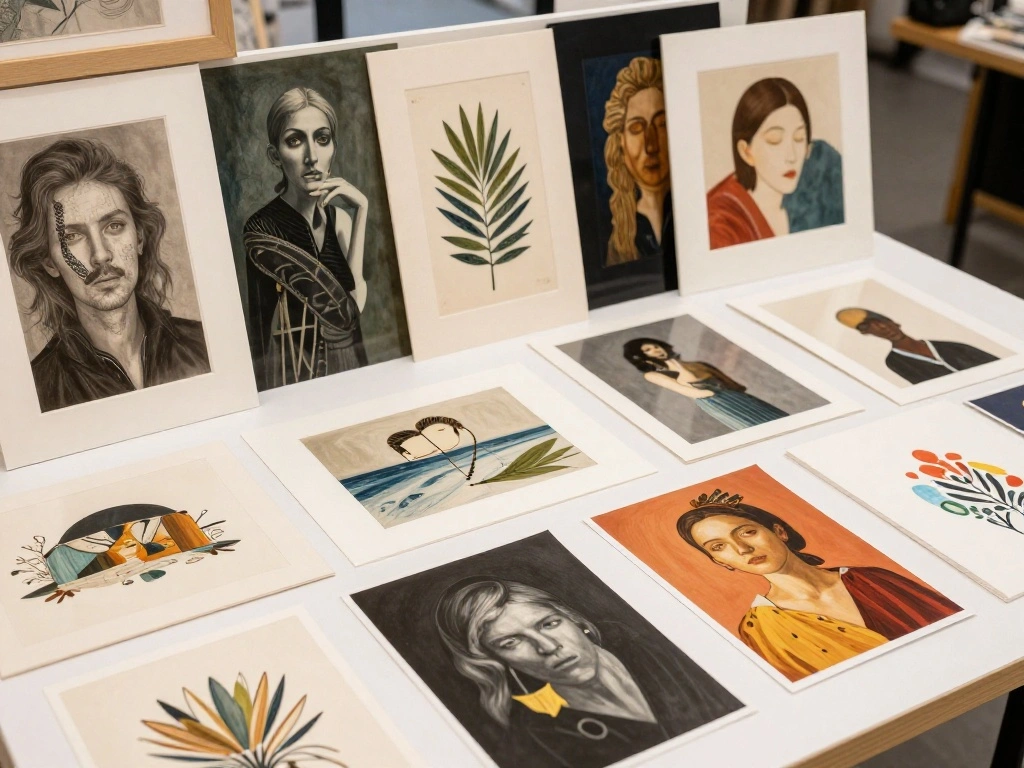
Collect artwork that resonates with your family’s values and aesthetics. Look for prints that feature animals, nature, abstract designs, or meaningful quotes. Ensure a mix of sizes to create visual interest.
- Visit local art stores or online shops for prints.
- Consider personal photos that can be framed.
- Include handmade art from family members.
Why this matters: Diverse artwork adds personality and warmth to the nursery.
Warning: Avoid overly busy or dark pieces that may overwhelm the space.
Time estimate: 30 minutes.
Recommended Products

Vintage Gallery Wall Art : This neutral-toned, frameless vintage wall art piece infuses home decor with nostalgic charm and elegant style, creating a warm and inviting atmosphere that perfectly complements any interior space. Enjoy the DIY fun of framing it with your favorite picture frame.

【Adorable 9-Piece Animal Wall Art Set】 Turn an ordinary space into a playful animal gallery with 9 colorful cartoon animal prints featuring a llama, crocodile, spotted dogs, swans, an octopus riding a bicycle, a tiger on a bike, and playful dogs on a skateboard and scooter. This fun collection works beautifully as kids wall art, kids room art, animal posters, and wall art for kids room, adding personality and imagination to everyday spaces.
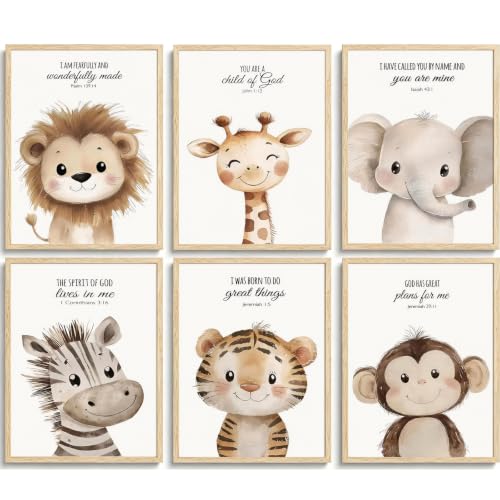
Unique Aesthetic Design: The design of this canvas wall art combines multiple elements and is suitable for most home decoration styles. The unique pattern style on the painting can help you to relax and unwind after work. Each set has 6 wall arts, each with a size of 8x10 inches.
Step 2: Gather Artwork
Editor’s Choice

KURUI 303Pcs Picture Hanging Kit, Picture Hangers Assorted Kit with Heav…
Amazon$7.99
Tanmart Animal Wall Art Pictures Baby Nursery Canvas Wall Art Decor Safa…
Amazon$9.99
eletecpro 12×12 Picture Frames Set of 9 with Clear Acrylic Cover, Displa…
Amazon$29.99Step 3: Plan Your Layout
Before hanging anything, lay out your selected pieces on the floor to experiment with arrangement. Try different configurations until you find one that feels balanced and visually appealing.
- Start with a focal piece in the center.
- Arrange smaller pieces around it, ensuring varied spacing.
- Use templates or cutouts of your frames on the wall to visualize placement.
Why this matters: A well-planned layout ensures that the wall looks intentional and organized.
Pro Tip: Take a photo of the arrangement for reference when you’re ready to hang the pieces.
Time estimate: 30 minutes.
Recommended Products

【Baby Girl Canvas Wall Art】Frame not included. Pink Nursery Gallery Wall Set includes 6 prints: 2×5x7", 2×8x10", and 2×11x14" canvases. Crafted from eco-friendly recycled canvas—smooth, thick, and wrinkle-resistant. High-definition patterns printed with fade-resistant, UV-proof ink ensure vivid colors and long-lasting beauty.

Complete Nursery Decor Set: You will get a set of 3 framed watercolor portrait prints of safari baby animals, includes 3 Baby Animals: Giraffe, Elephant, and Lion, 12X16 inches

【Premium Canvas Quality】Please note: frame not included. 12x16 inch set of 4.The recycled premium canvas used for our art pictures are smooth , thick, and wrinkle-resistant. And we use high quality inks that is UV resistant and Anti fading to make the pattern more vivid and life like.
Step 3: Plan Your Layout
Editor’s Choice

Level & Hang Magnetic Ruler – 3-in-1 Picture Hanging Tool with Built-in …
Amazon$19.99
Wood Framed Wildflower Nursery Wall Art Set of 2, Boho Flower Botanical …
Amazon$32.99Step 4: Mark Your Wall
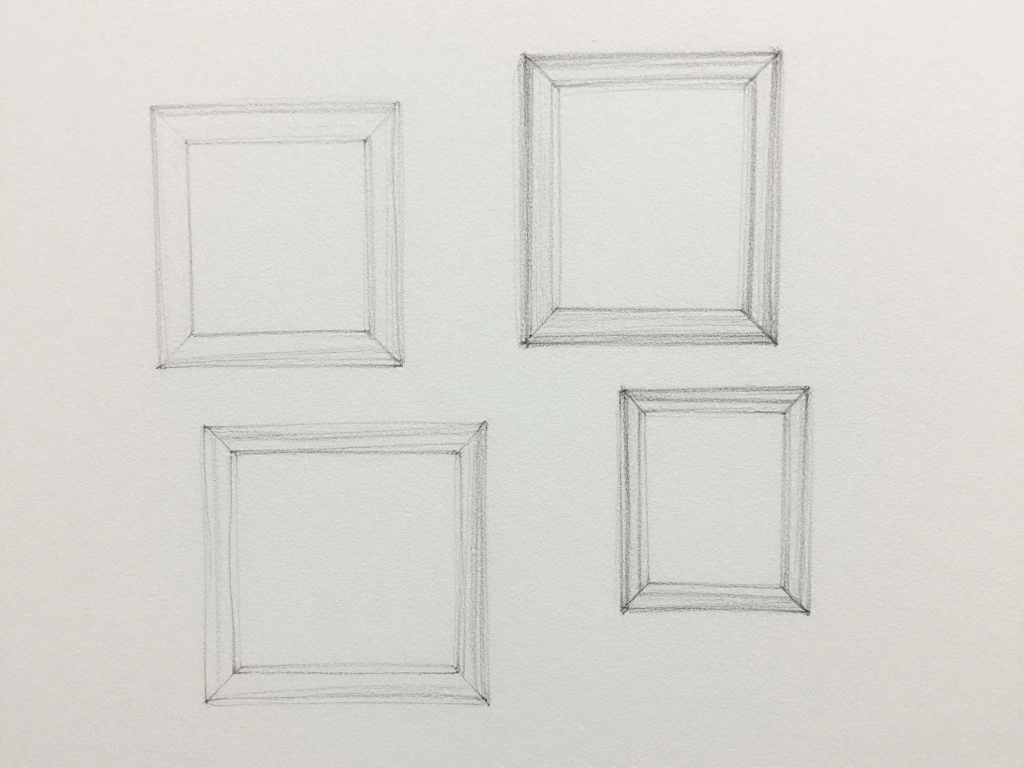
Using a pencil, lightly mark where the top of each frame will hang. This step is crucial for ensuring that your artwork aligns correctly once hung.
- Start with the center piece, marking its top edge.
- Measure the distance from the top of the frame to the hanging point, then mark that on the wall.
- Repeat for each piece according to your planned layout.
Why this matters: Accurate markings prevent unnecessary holes in the wall and ensure a neat appearance.
Warning: Use a level to ensure your markings are straight, especially if working with multiple rows.
Time estimate: 20 minutes.
Recommended Products

FUNCTIONAL WALL DECOR FOR NURSERIES: The Wee Gallery Growth Chart combines practical growth tracking with stylish nursery decor. Its modern yet playful design complements any...
Step 4: Mark Your Wall
Editor’s Choice
KURUI 303Pcs Picture Hanging Kit, Picture Hangers Assorted Kit with Heav…
Amazon$7.99
Swanson Tool Co CP216 AlwaysSharp Refillable Mechanical Carpenter Pencil…
Amazon$3.99
PROMAKER 18 inch Level, Magnetic Level with 180° 90° 45° bubbles, Sho…
Amazon$19.99Step 5: Hang Your Artwork
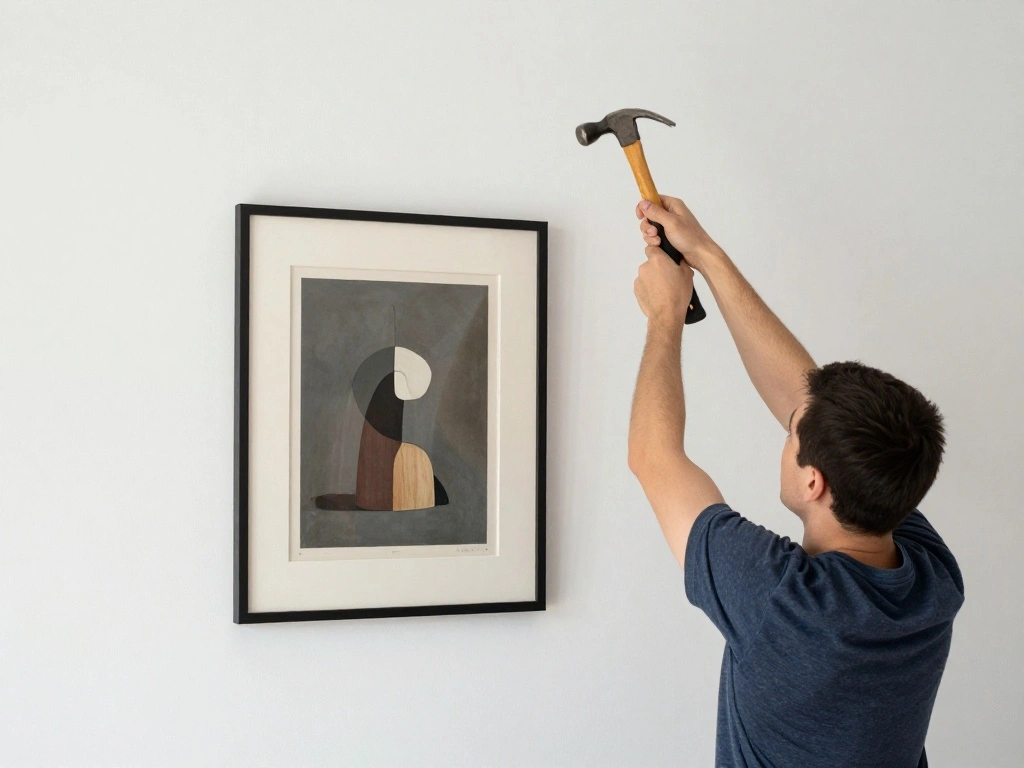
Now it’s time to hang the artwork! Depending on the type of hanging supplies you’re using, follow the appropriate steps to secure each piece.
- For nails or hooks, drill or hammer them into the marked spots.
- For adhesive strips, follow the instructions carefully for best results.
- Hang each piece, starting from the center and moving outwards.
Why this matters: Proper hanging ensures artwork is secure and showcases your design effectively.
Pro Tip: Step back frequently to check alignment while hanging.
Time estimate: 40 minutes.
Recommended Products

【Heavy Duty Wall Adhesive Strip】: MERDTTES Picture hanging kit includes 40 pieces (20 pairs) Velcro self-adhesive wall strips. Compared to other picture hanger strips, we have larger size: 2*10cm for each. The wider and longer Power Velcro adhesive provides 20 pounds of pull per 6 pairs. Large-size hanging strips can be freely cropped according to the size of your photo frame.


【Strong Adhesion】: Our heavy duty double sided tape is made of premium acrylic gel via advanced nano tech with great holding power. Getting your mounting activities done fast and securely without drilling and nails, a must have for dorm room essentials.
Step 5: Hang Your Artwork
Editor’s Choice
KURUI 303Pcs Picture Hanging Kit, Picture Hangers Assorted Kit with Heav…
Amazon$7.99
Command 15 lb Large Picture Hanging Strips 14 Pairs (28 Strips), Damage-…
Amazon$13.99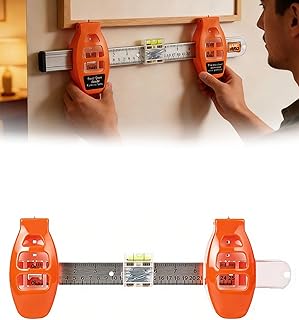
Level Ruler Picture Hanging Tool with Level – Precision Wall Mount Gui…
Amazon$23.99Step 6: Adjust and Level the Frames
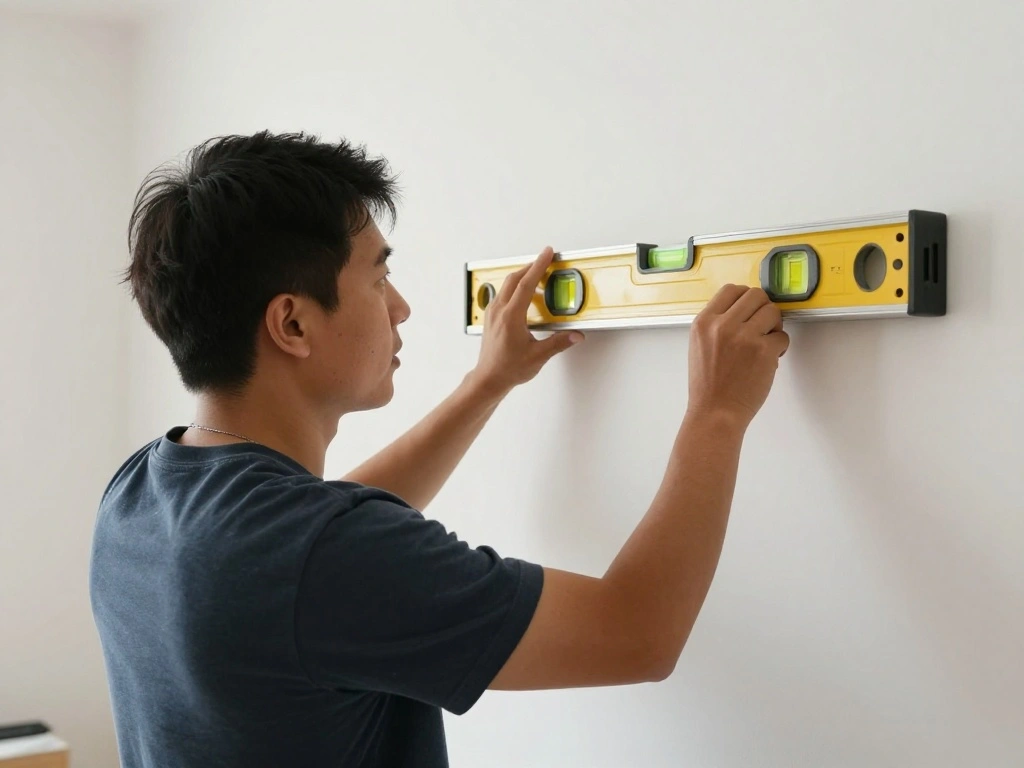
After hanging the artwork, step back and assess the overall look. Make any necessary adjustments to ensure everything is level and aligned properly.
- Use a level to check each frame.
- If needed, adjust the frames by lifting or repositioning them slightly.
- Ensure that spaces between frames are consistent.
Why this matters: Level frames create a polished, professional appearance.
Warning: Avoid forcing frames into position as this might damage the wall.
Time estimate: 30 minutes.
Recommended Products

UNFRAMED PRINTS: 16x24 inch unframed - (set of 3).

Game Room Wall Art: Featuring the playful quote “It Really Is All Fun And Games,” this gold framed wall art adds a cheerful and lighthearted touch to game rooms, kids rooms, playrooms, bedrooms, nurseries, and family spaces. The simple quote design creates a fun decorative accent while fitting naturally into neutral, vintage, cottagecore, and modern interiors

ELEGANT ORNATE GOLD FRAME: Each art piece is encased in a premium, vintage-inspired gold frame featuring classic scrollwork and a beaded inner edge. This substantial ornate frame adds a high-end gallery feel to your walls. Available in 11x9, 16x12, and 16x24 inches, it is ideally sized to stand alone as a statement piece or complement a boho gallery wall.
Step 6: Adjust and Level the Frames
Editor’s Choice
Command 15 lb Large Picture Hanging Strips 14 Pairs (28 Strips), Damage-…
Amazon$13.99
All-in-One Picture Hanging Tool, Picture Hanger, Picture Frame Level Rul…
Amazon$7.99
iBayam 2 Pack Tape Measure Measuring Tape for Body Fabric Sewing Tailor …
Amazon$3.99Step 7: Add Finishing Touches
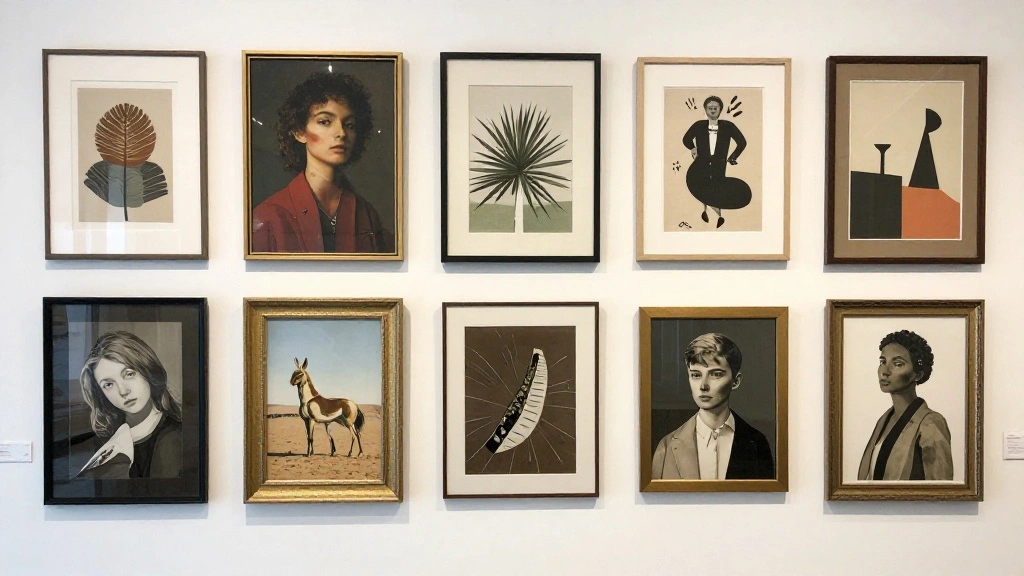
Once your gallery wall is complete, consider adding small decorative elements to enhance the overall aesthetic. This could be plants, shelves, or additional accents.
- Incorporate small items like a decorative shelf or a plant.
- Ensure that these elements complement your artwork without overwhelming it.
- Take a final step back and enjoy your beautiful creation!
Why this matters: Finishing touches personalize the space and make it feel complete.
Pro Tip: Consider changing out artwork periodically to keep the gallery fresh.
Time estimate: 30 minutes.
Recommended Products

Sweet Vintage Nursery Scene: This charming nursery wall art set features a soft pink bow, a gentle bunny, and an adorable goose all surrounded by delicate vintage floral...
Step 7: Add Finishing Touches
Editor’s Choice

4 Inch Plant Pots 10 Pcs Small Flower Pots For Indoor Plant Pots Succule…
Amazon$7.99
BAYKA Floating Shelves for Wall, Wall Mounted Rustic Wood Shelves for Ba…
Amazon$19.94
3D Textured Neutral Abstract Wall Art Decor With Shelf, Boho Beige and B…
Amazon$110.99Pro Tips
- Mix Textures: Incorporate different materials like wood, canvas, and fabric to add depth.
- Use Lighting: Consider spotlighting or string lights to highlight your gallery wall.
- Seasonal Themes: Change artwork with the seasons for a fresh look all year round.
- Personal Touch: Include family photos or child-made artwork to create a personal connection.
- Start Small: If you’re unsure, start with a few pieces and gradually expand.
Pro Tips
Editor’s Choice

50 Pack Small Sawtooth Picture Hangers – Steel Picture Hanging Solutions…
Amazon$4.99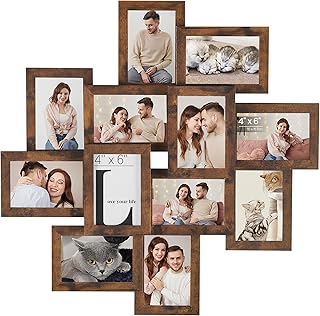
SONGMICS 4×6 Picture Frames Collage Wall Decor, 12-Pack Photo Collage Fr…
Amazon$25.49
Minetom Star String Lights Battery Operated – 17 ft 50 LED Star Fairy St…
Amazon$9.98Common Mistakes to Avoid
Warning: Skipping the layout planning step can lead to a cluttered appearance.
Warning: Not using a level can result in crooked frames.
Warning: Overcrowding the wall with too many pieces can overwhelm the space.
Warning: Using frames that don’t match can disrupt the visual harmony.
Warning: Forgetting to secure frames properly can lead to accidents.
Common Mistakes to Avoid
Editor’s Choice

SESEAT Picture Frames Collage, Gallery Wall Frame Set with 11×14 8×10 5x…
Amazon$20.89
PREXISO Multi Surface Laser Level LED Light Vial, 30Ft Horizontal & Vert…
Amazon$39.99Troubleshooting Section
Problem: Frames are crooked after hanging.
Solution: Use a level to check each frame and adjust as needed.
Problem: Artwork looks cluttered.
Solution: Remove one or two pieces to create balance and breathing room.
Problem: Wall damage from nails or hooks.
Solution: Use adhesive strips or wall-safe hooks to minimize wall damage.
Problem: Artwork is too high or too low.
Solution: Measure and adjust according to eye level for optimal viewing.
Problem: Inconsistent spacing.
Solution: Use a measuring tape to ensure equal gaps between frames.
Troubleshooting Section
Editor’s Choice

Command Small Wire Toggle Hooks, 16 Hooks and 24 Strips, Damage-Free Han…
Amazon$11.99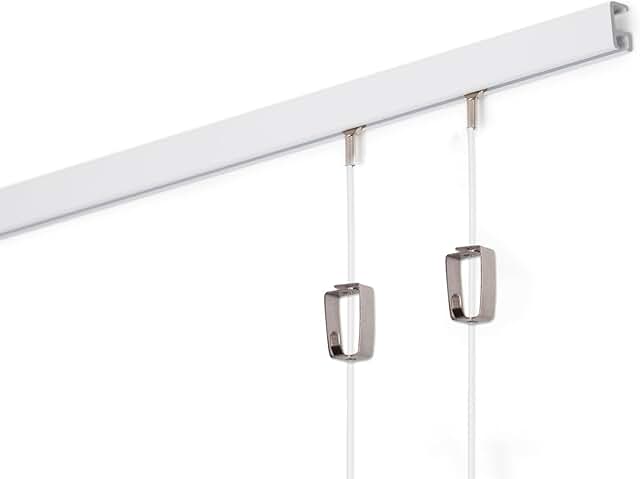
STAS Minirail Picture Hanging System Set – Covers 4.92 ft of Wall Space …
Amazon$43.27
Motovera Self Leveling Laser Level 100ft, Green Cross Line with Tripod, …
Amazon$39.99Variations/Alternative Methods
- Floating Shelves: Instead of hanging frames, consider using floating shelves to display art and decorative items. This method allows for easy changes.
- Gallery Ledges: Install ledges to hold frames without permanently affixing them to the wall, making it easy to switch out pieces.
- Magnetic Frames: Use magnetic frames for a modern twist, allowing you to change artwork easily without holes in the wall.
Variations/Alternative Methods
Editor’s Choice
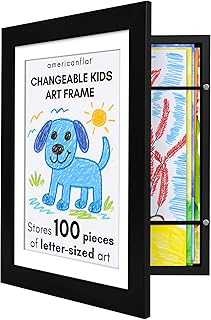
Americanflat Kids Artwork Frame Changeable (Black) – Magnetic Door Holds…
Amazon$16.99
RICHFOCUS Picture Ledge Shelf, 40 inch Floating Shelves Set of 2, Wood W…
Amazon$42.99
Fixwal Nursery Shelves, 16.5 Inch Floating Bookshelves for Wall Set of 3…
Amazon$22.99FAQs
- What if I don’t have enough artwork? Use a combination of larger pieces and smaller accents to fill the wall effectively.
- How long should I wait between changes? Consider changing pieces every season or when you want a fresh look.
- Is it safe to use adhesive strips? Yes, as long as they are rated for the weight of your frames.
- What if I want to add more artwork later? Leave space between pieces for future additions, allowing for growth.
- Can I mix different frame styles? Yes, mixing styles can create an eclectic and personalized look.
FAQs
Editor’s Choice

97 Decor Kids Playroom Wall Decor – Colorful Nursery Wall Art, Kids Post…
Amazon$9.99
eletecpro 12×12 Picture Frames Set of 9 with Clear Acrylic Cover, Displa…
Amazon$29.99
Command 15 lb Large Picture Hanging Strips 14 Pairs (28 Strips), Damage-…
Amazon$13.99Conclusion
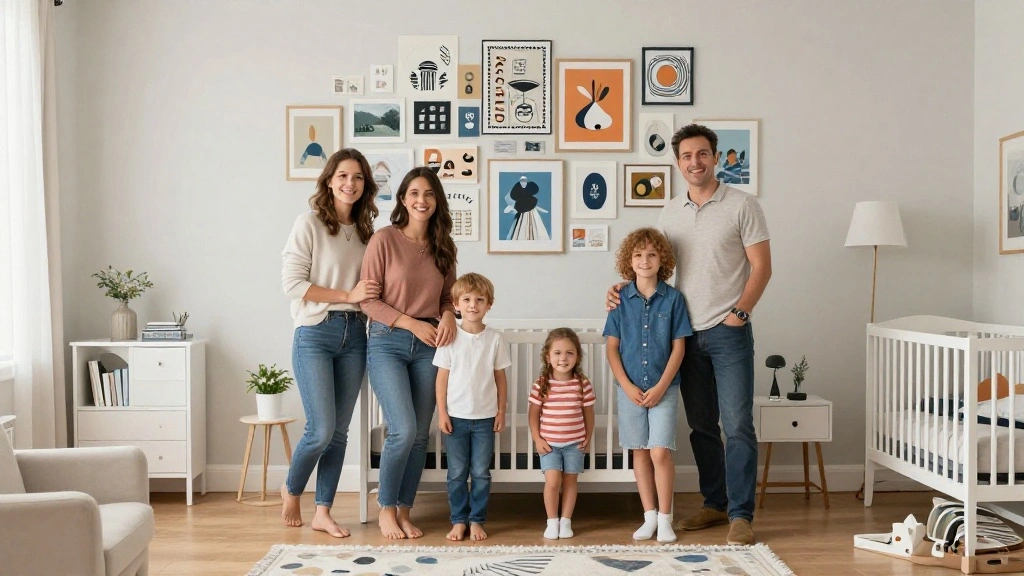
Congratulations on completing your gallery wall! You’ve transformed a blank space into a beautiful showcase that reflects your family’s personality. Take a moment to appreciate the effort you put into creating this special environment for your little one.
As a next step, consider adding more personal touches, like family photos or seasonal decorations, to keep the wall alive and evolving. For more inspiration, explore related articles on nursery decor and creative wall designs.
Embrace your creativity and enjoy the process of making your nursery a warm, inviting space!

I've spent years obsessing over the details that make a house feel like a home — from the perfect bedding layers to a thoughtfully styled coffee corner. My focus is on modern, aesthetic home decor ideas that are beautiful, trend-aware, and actually achievable. Great style shouldn't require a big budget — just the right inspiration.
Follow on Facebook